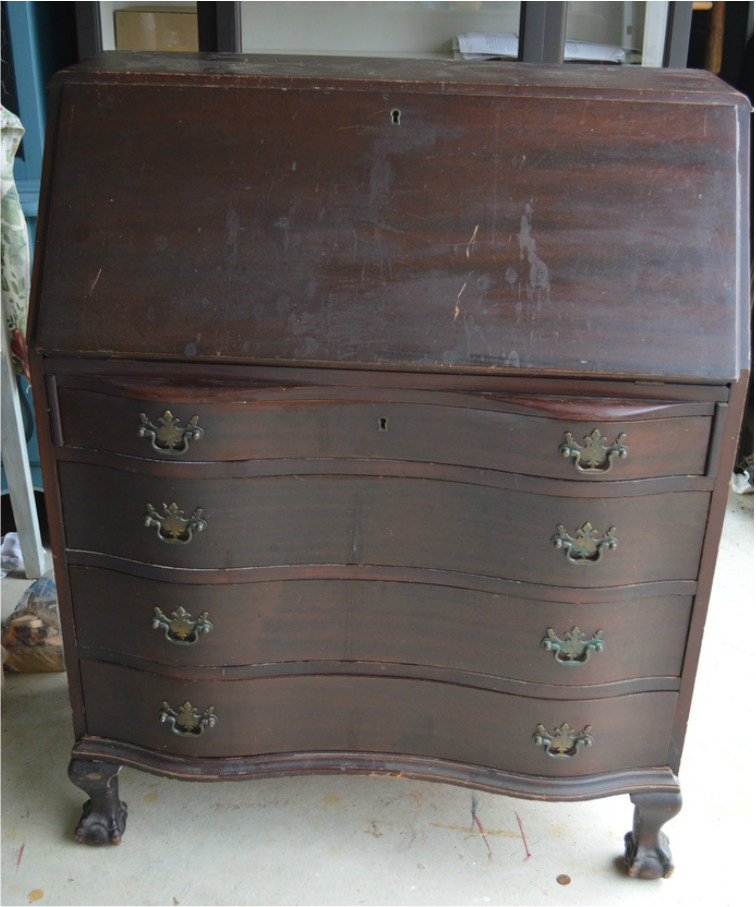
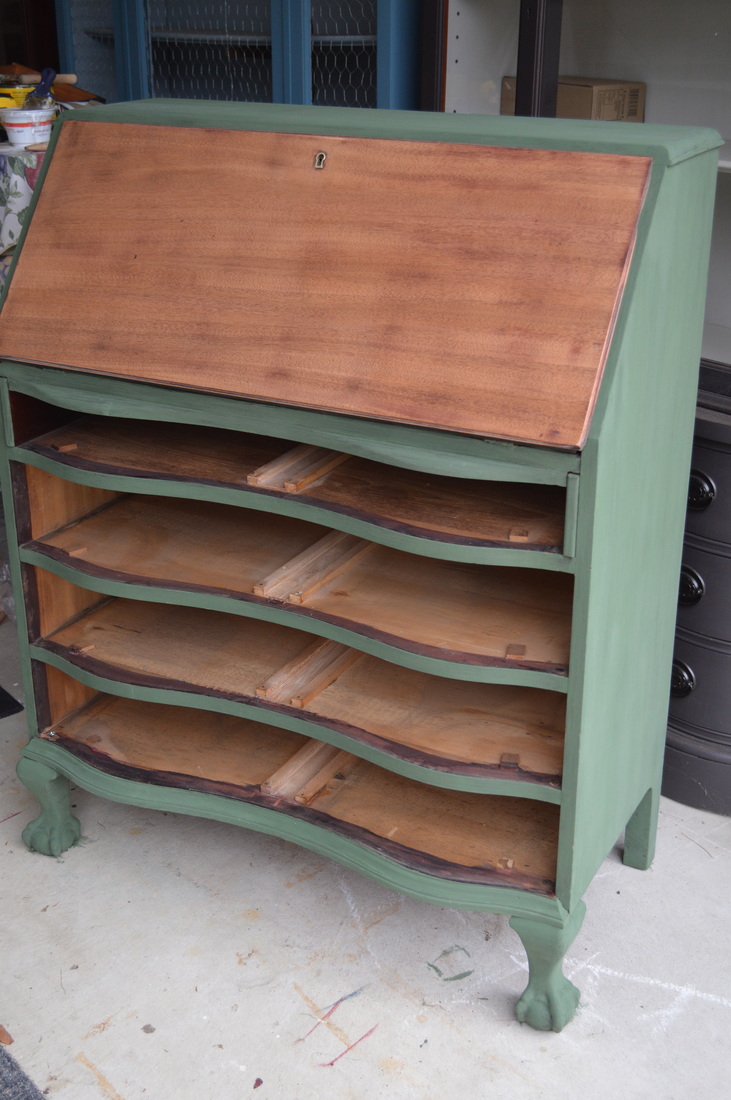
And I am happy to report that they became fast friends. A sliver of history on this style desk is that it is named after the mid 1600's Gov. John Winthrop of Massachusetts. The Winthrop Boston based furniture company added this title to the originally titled slant top or secretary desk in the early 1800's. Old Fashioned Milk Paint Company is native to Massachusetts and continues to produce its formula based on the historic milk paint recipe which it reformulated in the late 1900's. So, it was only fitting these two should become best mates.
As usual, I had a million ideas shoving their way around my brain when I sat to stare and contemplate its design. I had just seen Suicide Squad and little miss Harly Quinn must have been poking around in my brain because I kept thinking harlequin...diamond...argylish, ha. Seriously, I love harlequin design on furniture and have been anxiously waiting for myself to actually do it. I googled how to create a harlequin design last year, but none of the directions appealed to me, so I went down into my workshoppe and devised my own way. Probably not the most accurate, but it was uncomplicated and quick and yielded my harlequins to my satisfaction.
As usual, I had a million ideas shoving their way around my brain when I sat to stare and contemplate its design. I had just seen Suicide Squad and little miss Harly Quinn must have been poking around in my brain because I kept thinking harlequin...diamond...argylish, ha. Seriously, I love harlequin design on furniture and have been anxiously waiting for myself to actually do it. I googled how to create a harlequin design last year, but none of the directions appealed to me, so I went down into my workshoppe and devised my own way. Probably not the most accurate, but it was uncomplicated and quick and yielded my harlequins to my satisfaction.


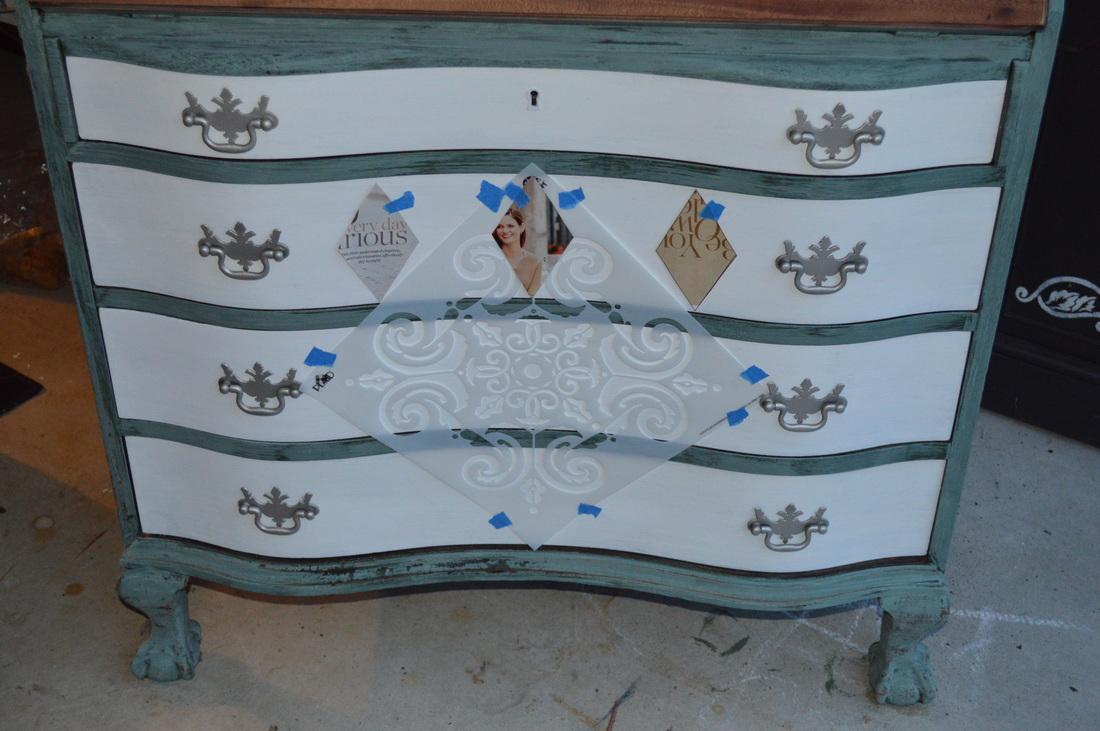
My original idea was to place five of these across the face of the drawers. However, I also had just purchased a new stencil that I was thinking of using on the front of the slant top. Well that all changed, but we'll get to that in a minute.
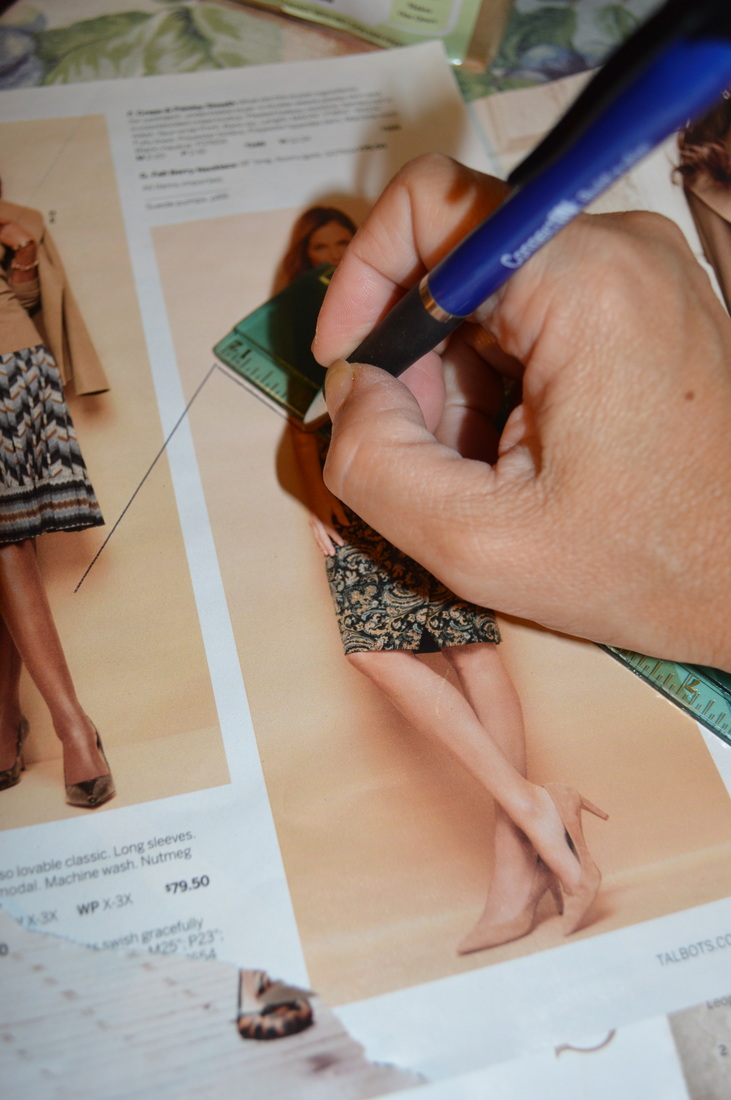
My method for making my harlequins was to measure my drawer space vertically and then eyeball the size of the diamond I wanted and the degree of angle I wanted them to have. So I measured with a ruler, traced my lines at the top and then met them from the bottom angles up to the side points. Simple simple.
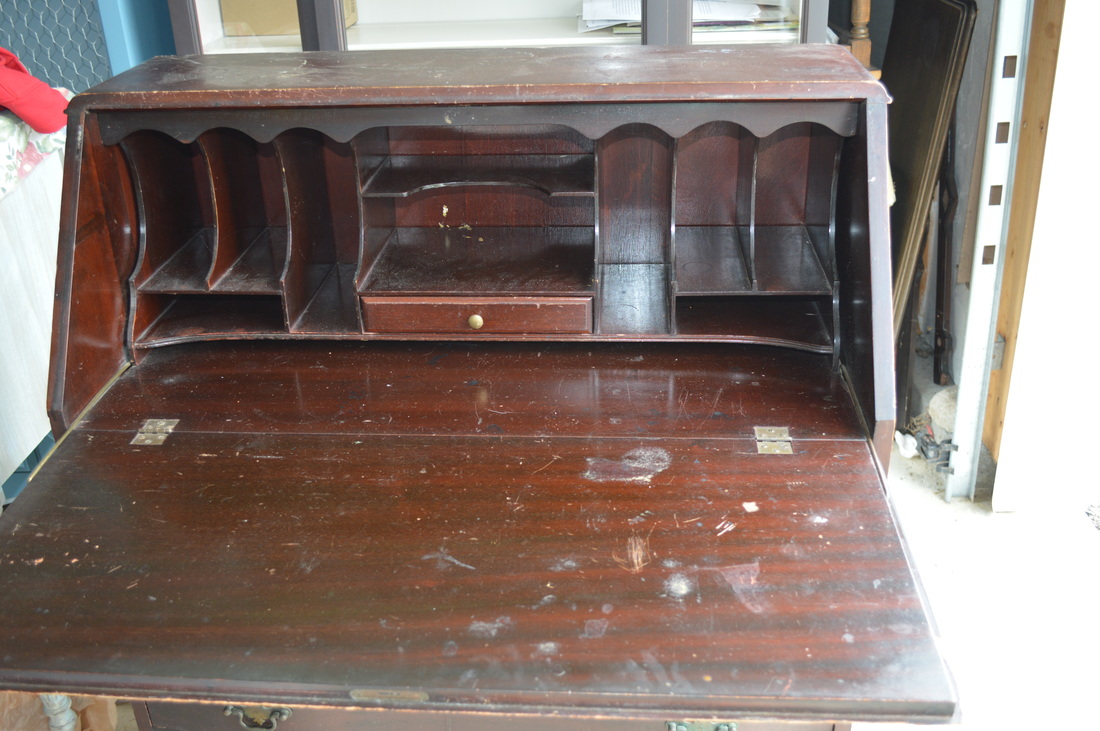
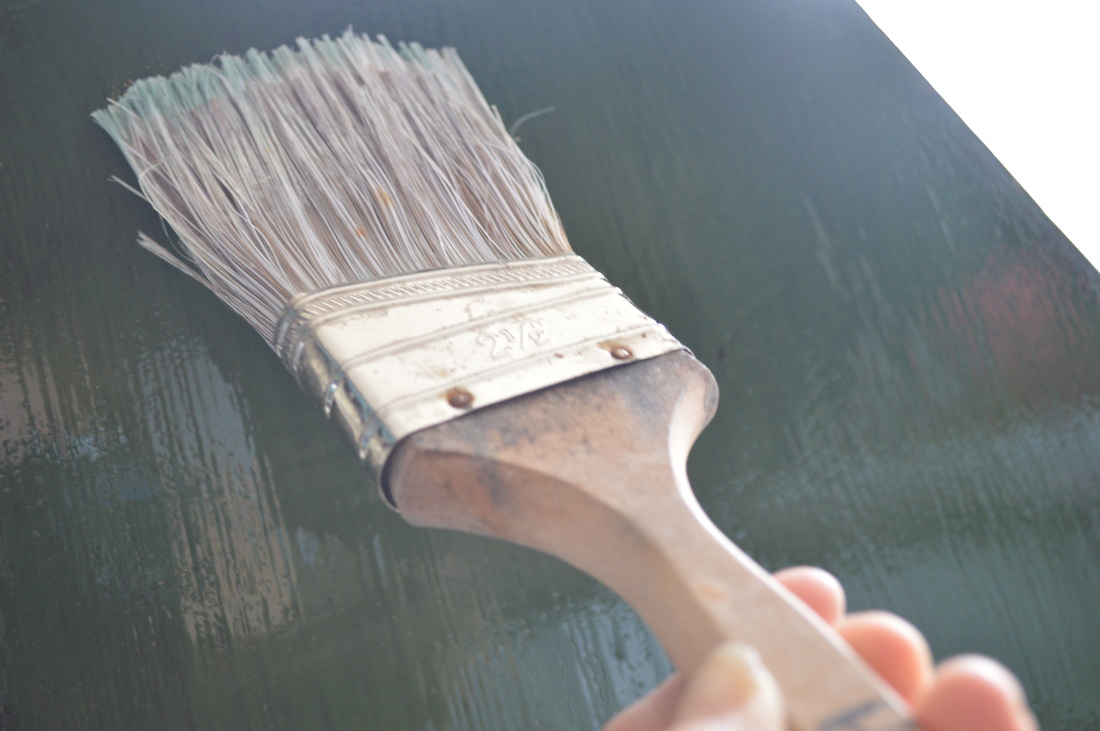
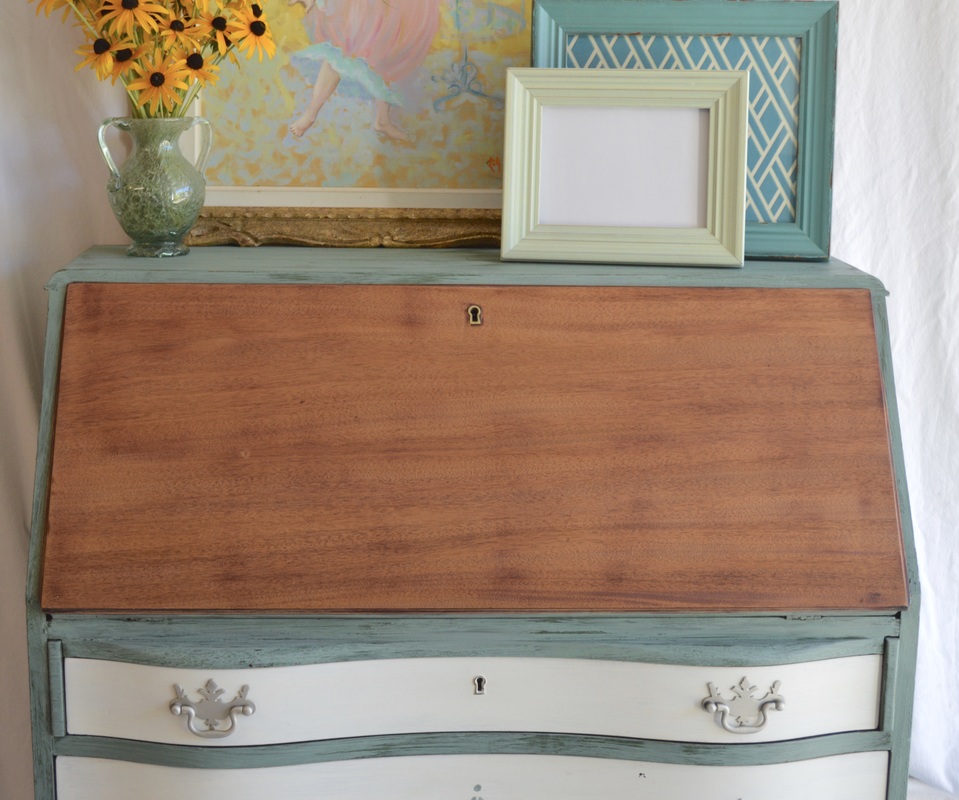
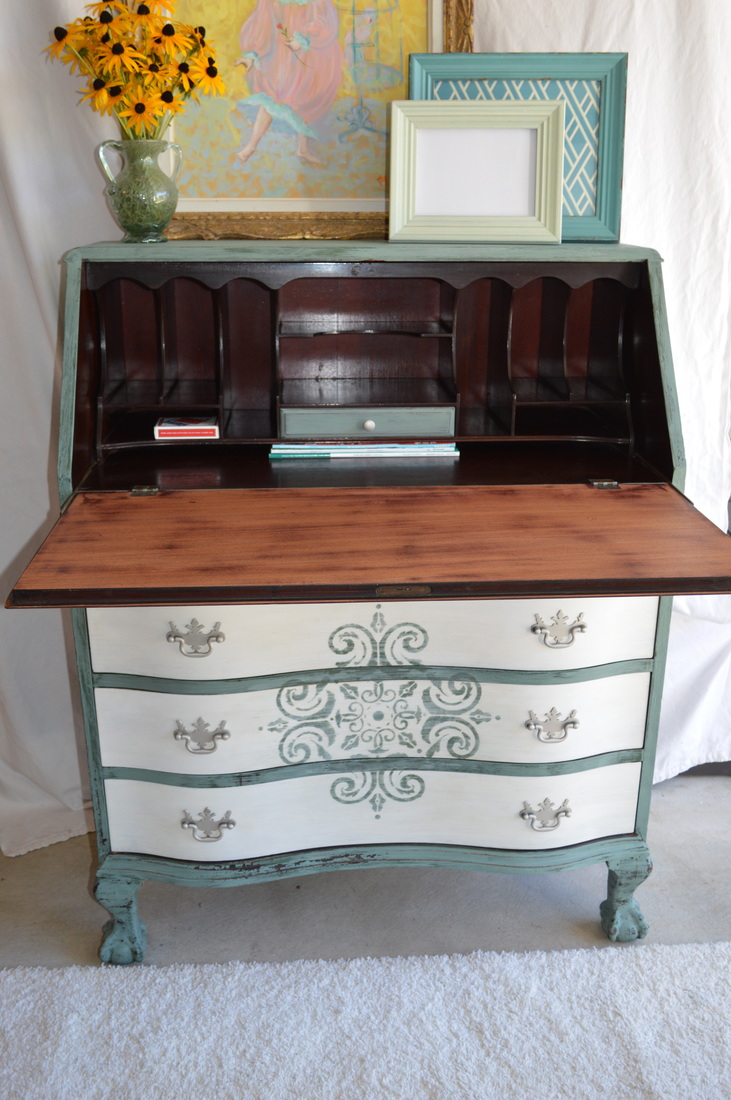
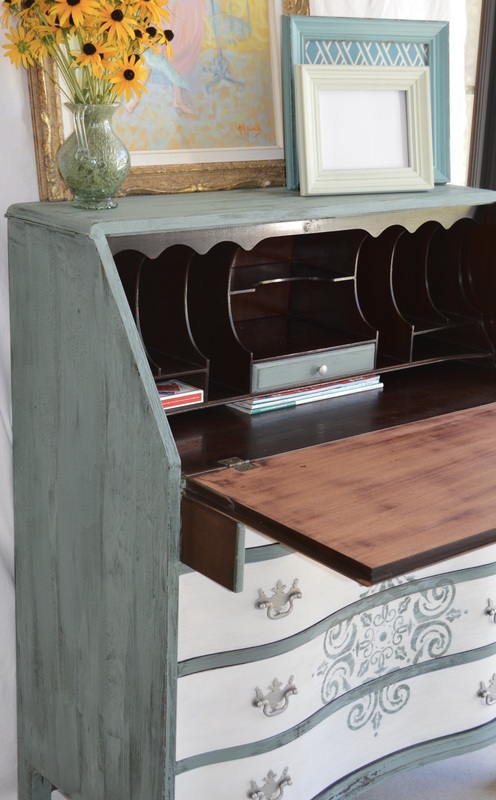
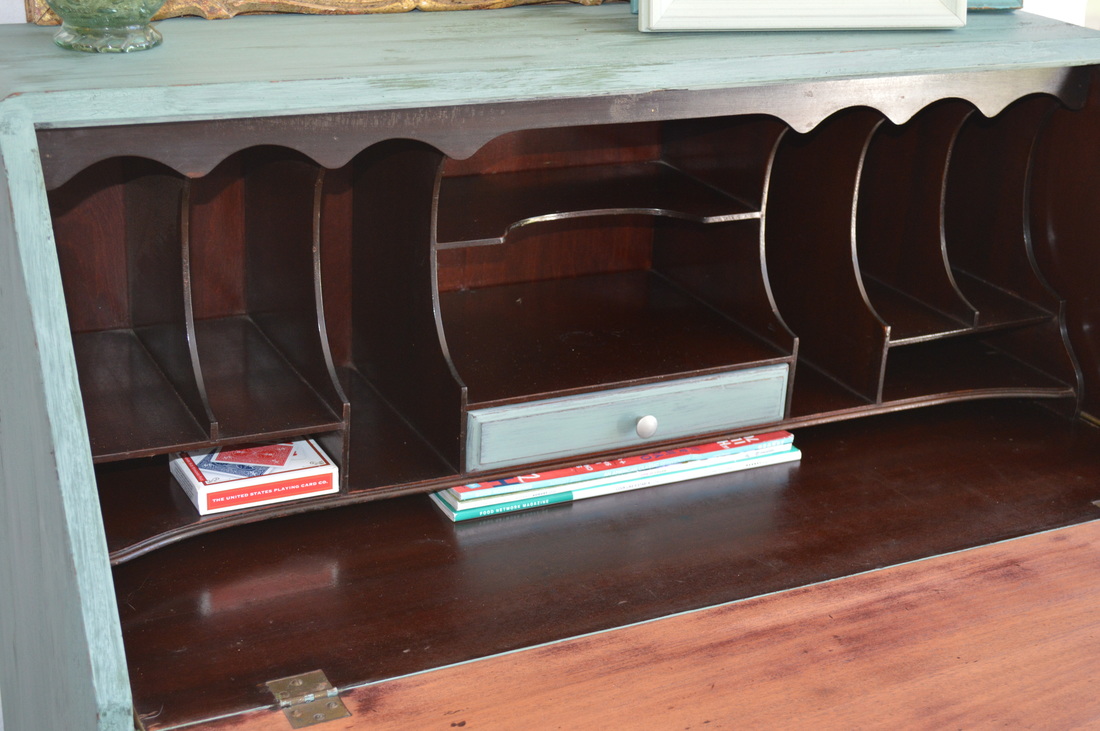
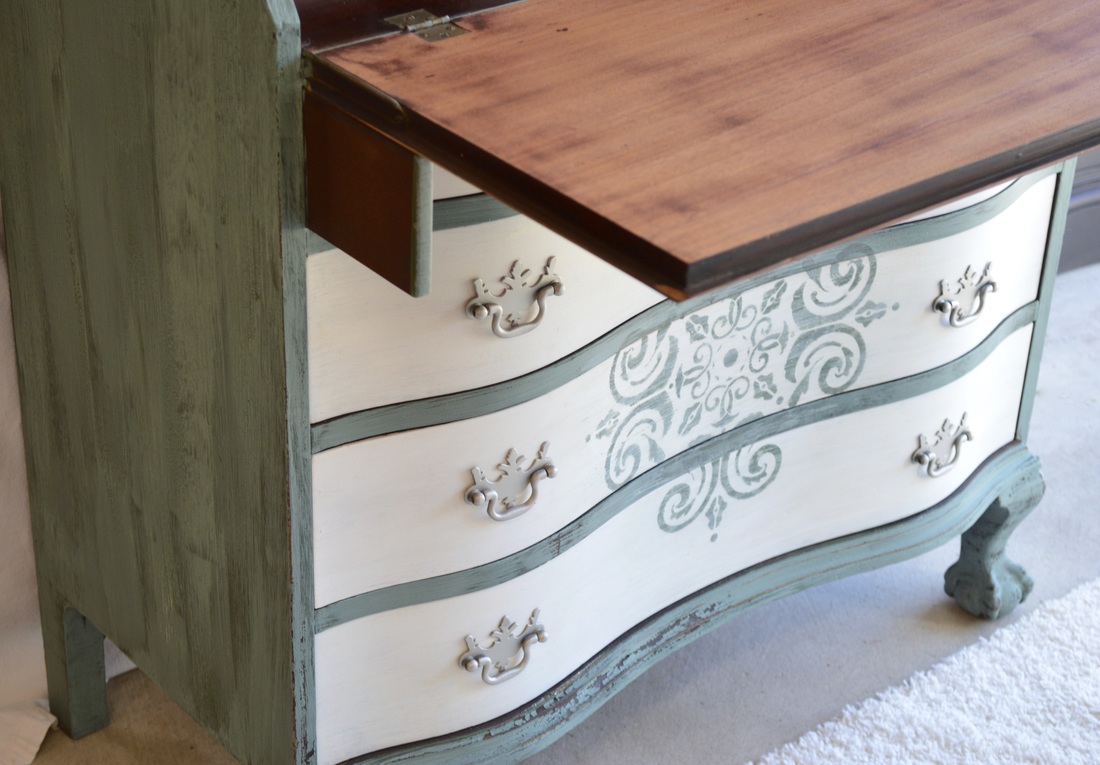
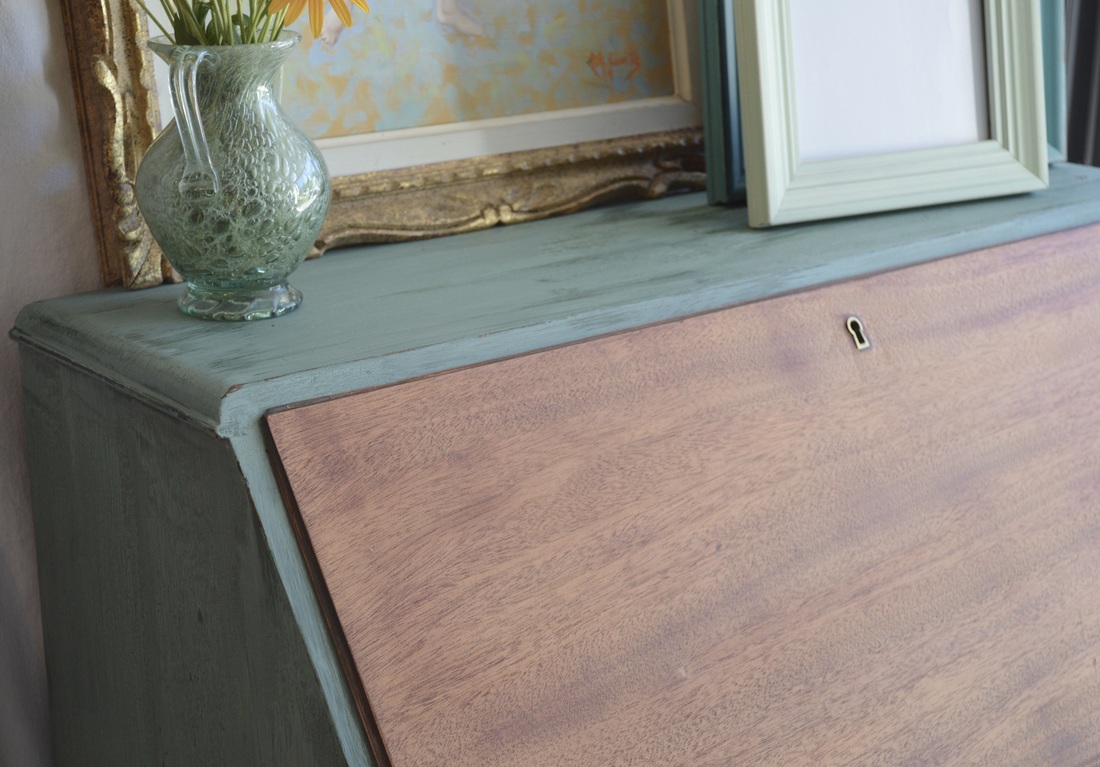
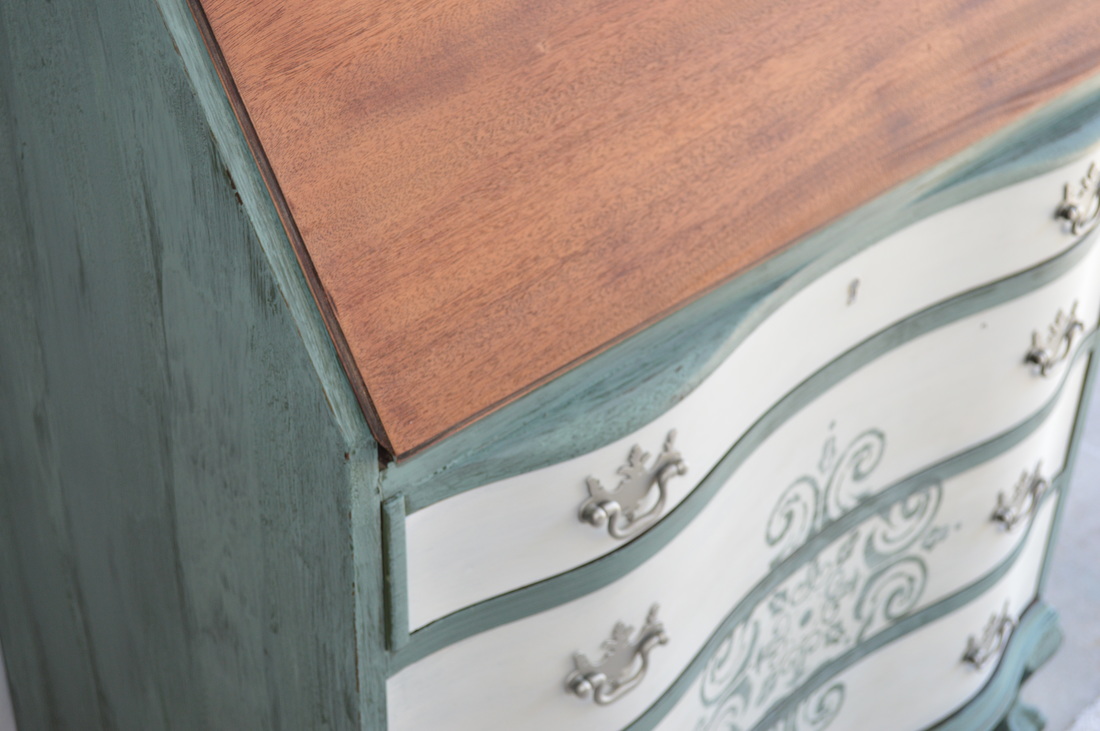
I sanded the drop down front inside and out to reveal the gorgeous mahogany. I was opting to leave it natural and just apply a topcoat for protection.
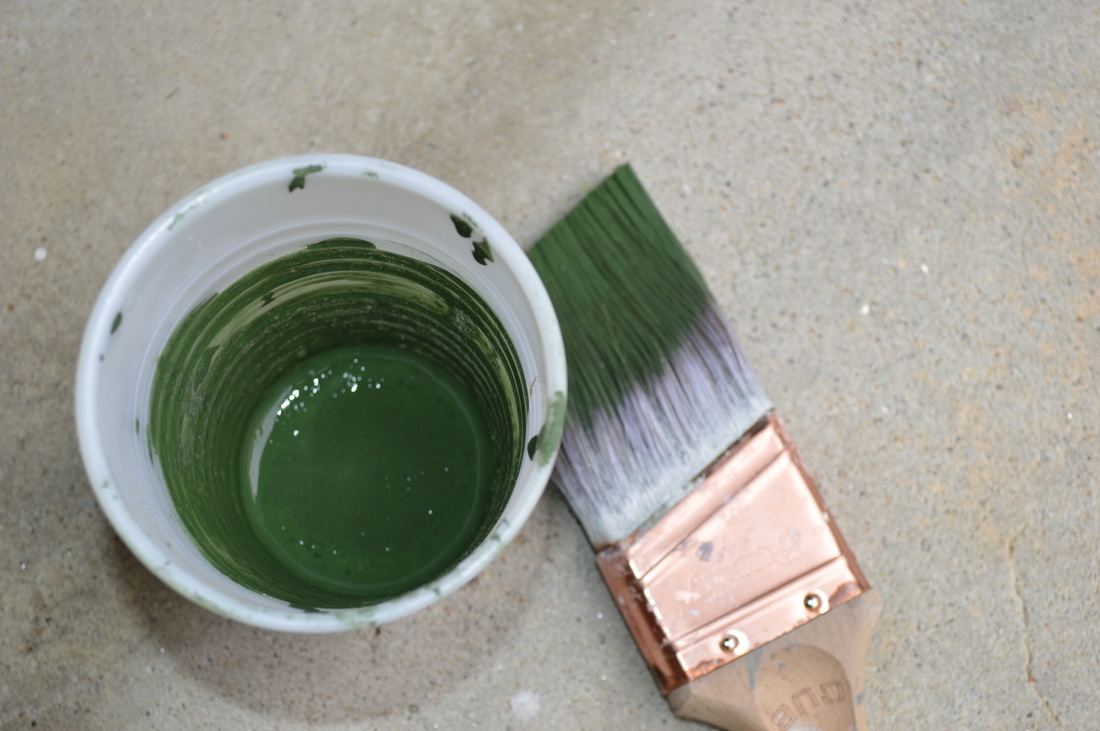
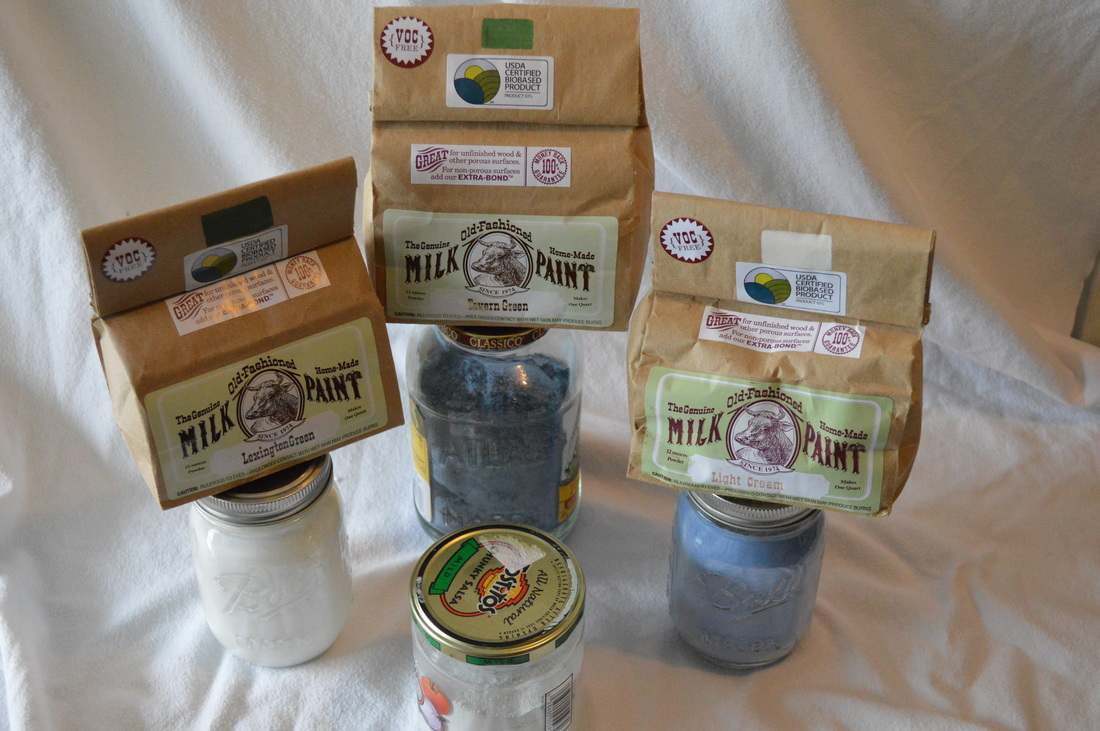
Next, I mixed my Old Fashioned Milk Paint in Lexington Green. Now let me state that this color is drop-dead awesome. It is understated and under used and I aim to fix that. It is a beautiful historic color, rich and warm and earthy. It dries to a dustier tone that is completely modern and luxurious. Just makes me want to be around it.
I painted the body in this for my under coat which I wanted to show through the crackling and chipping of the second custom mixed color I was applying. I had a hard time following through with painting over it because I just loved it. But, I knew I wanted a two tone crackle so I stuck to the plan.
Such a gorgeous fall color, too.
My method for making my harlequins was to measure my drawer space vertically and then eyeball the size of the diamond I wanted and the degree of angle I wanted them to have. So I measured with a ruler, traced my lines at the top and then met them from the bottom angles up to the side points. Simple simple.
I sanded the drop down front inside and out to reveal the gorgeous mahogany. I was opting to leave it natural and just apply a topcoat for protection.
Next, I mixed my Old Fashioned Milk Paint in Lexington Green. Now let me state that this color is drop-dead awesome. It is understated and under used and I aim to fix that. It is a beautiful historic color, rich and warm and earthy. It dries to a dustier tone that is completely modern and luxurious. Just makes me want to be around it.
I painted the body in this for my under coat which I wanted to show through the crackling and chipping of the second custom mixed color I was applying. I had a hard time following through with painting over it because I just loved it. But, I knew I wanted a two tone crackle so I stuck to the plan.
Such a gorgeous fall color, too.
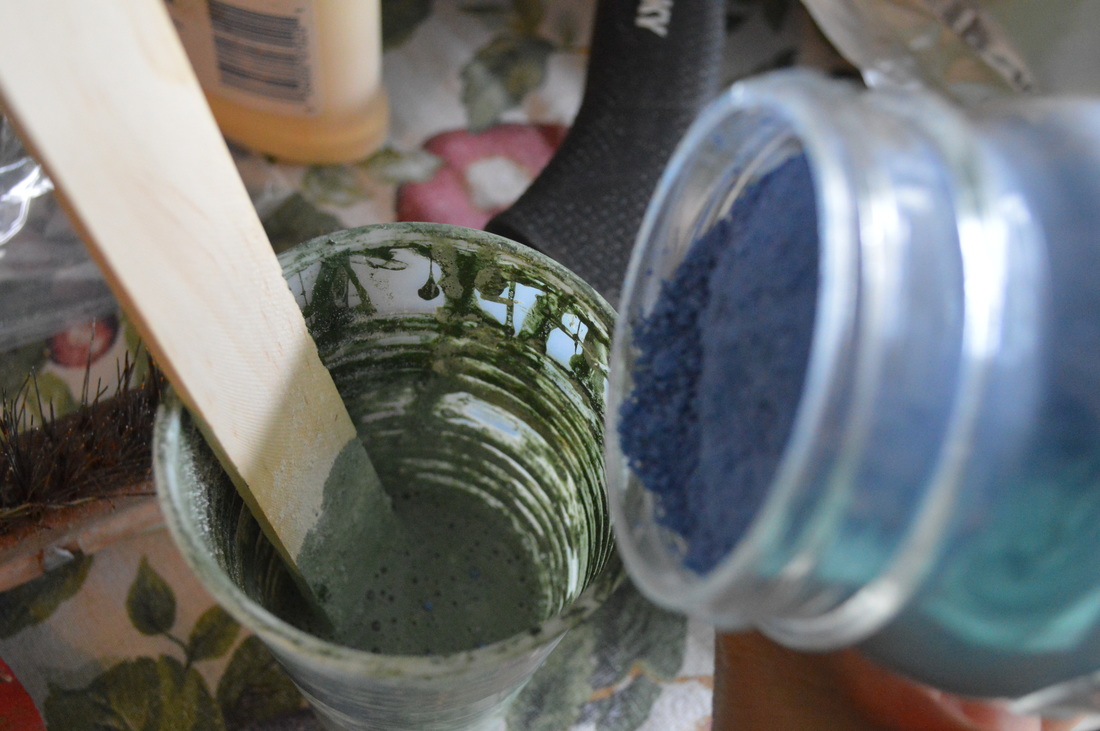
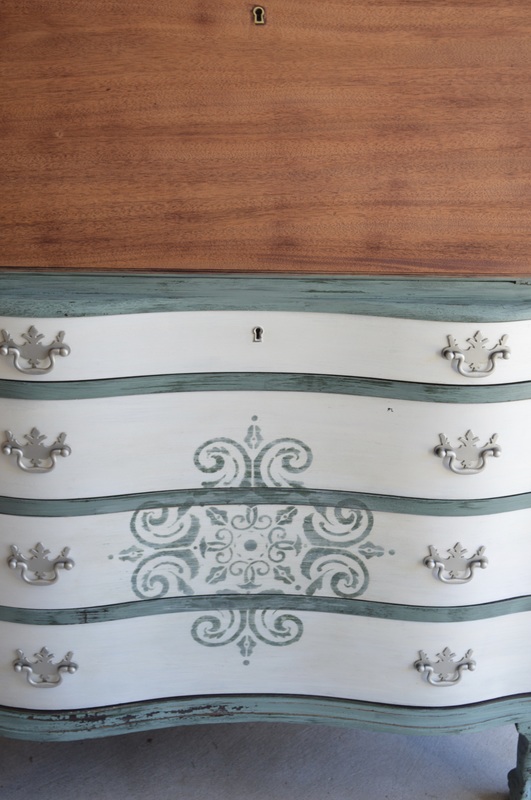
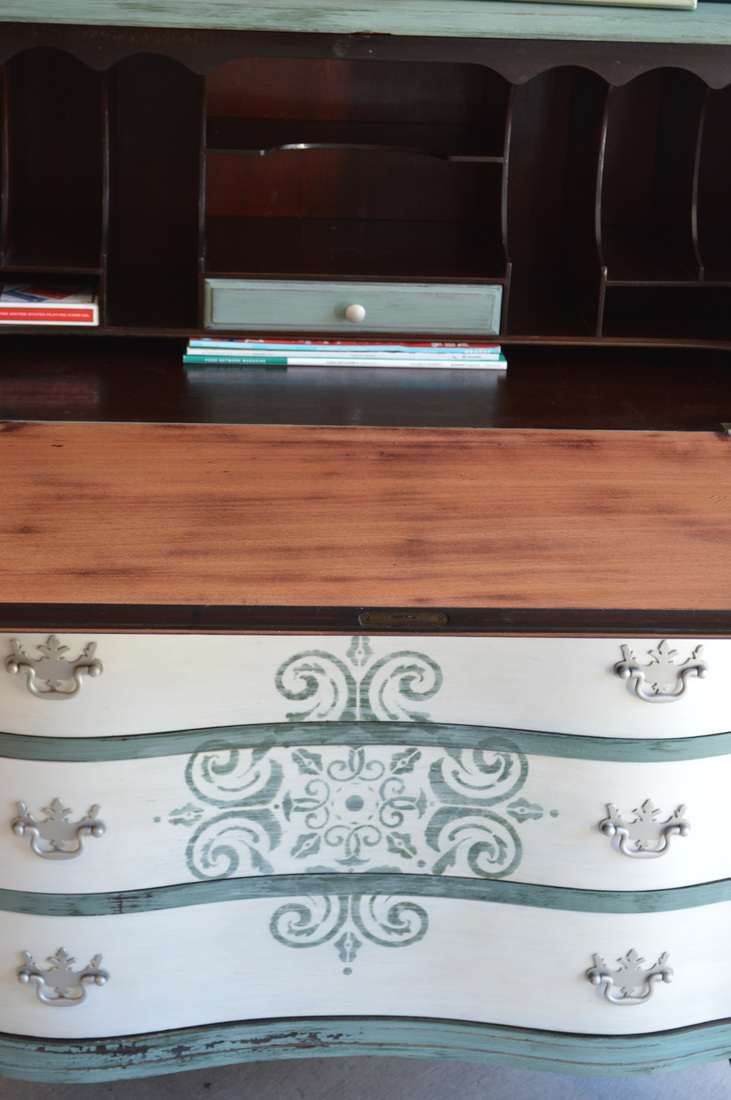
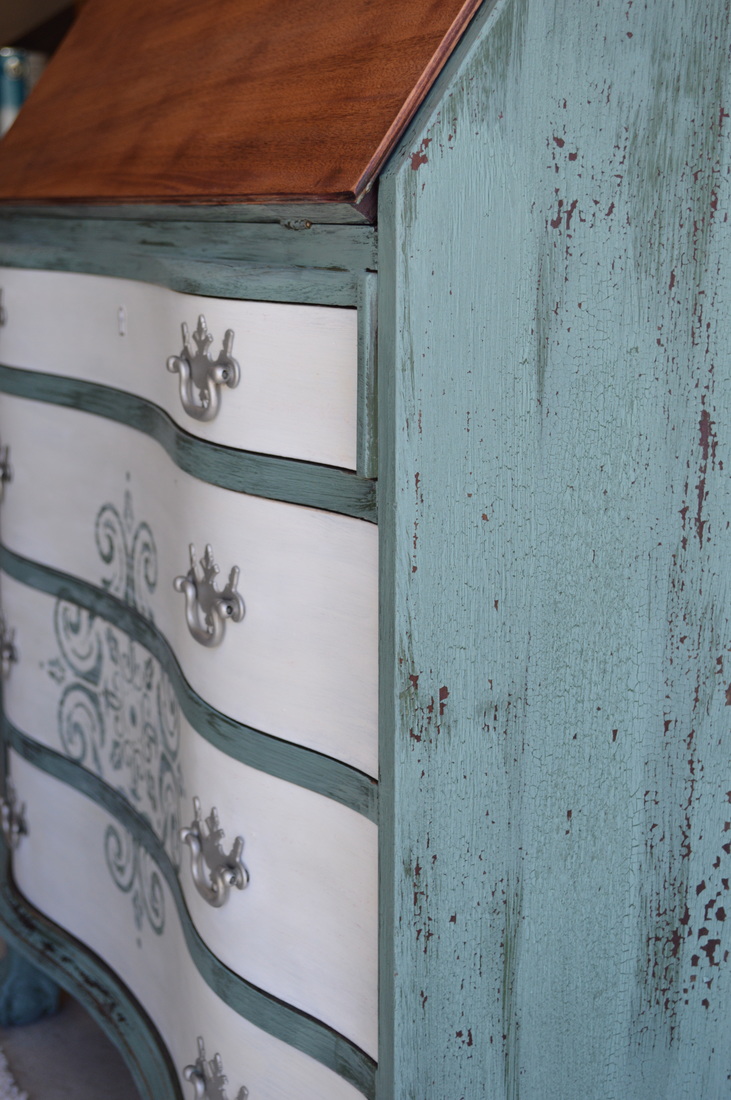
Next I painted the drawers Snow White by OFMP. I applied the crackle to the Lexington Green areas and while that dried, I began mixing my custom color to put over the green. I had a color and tone in my head, but boy oh boy, I could not tell you how to recreate this exactly. It is a delicious medley of Lexington Green mixed first then added in doses were Federal Blue, Soldier Blue, Tavern Green, Oyster White, Light Cream, and Snow White. I pretty much used equal parts of the blues and whites with small ratios of the greens and cream.
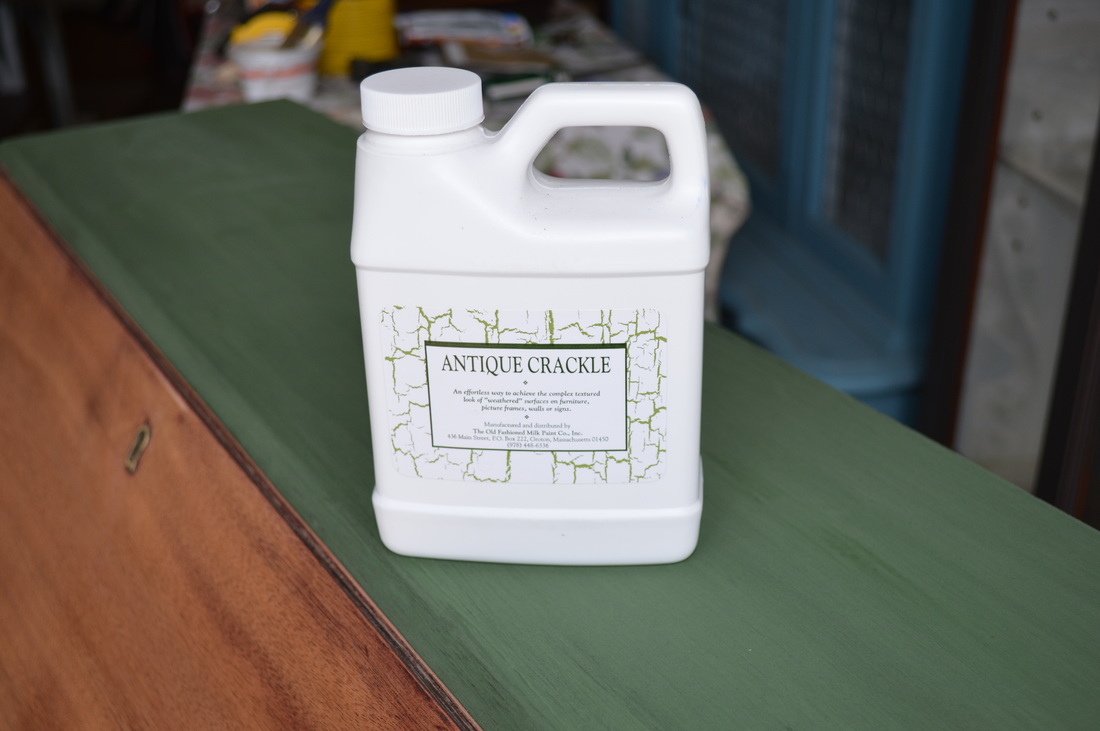
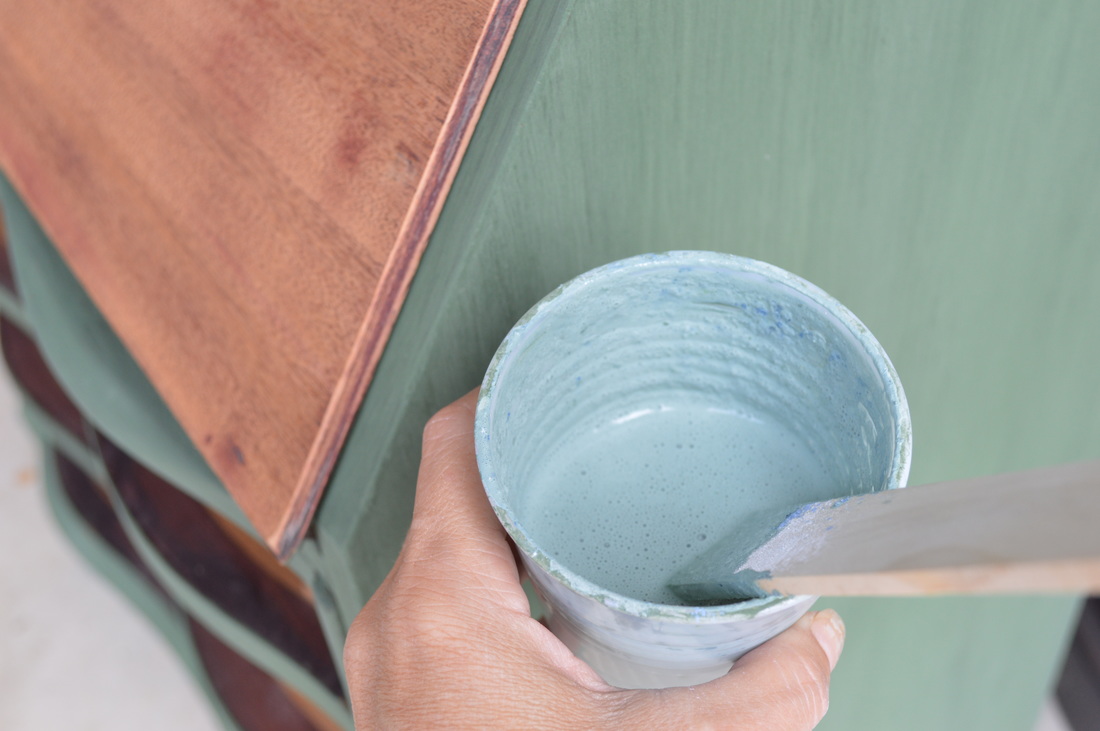
I painted my second color over the green and watched that layer crinkle and crackle.

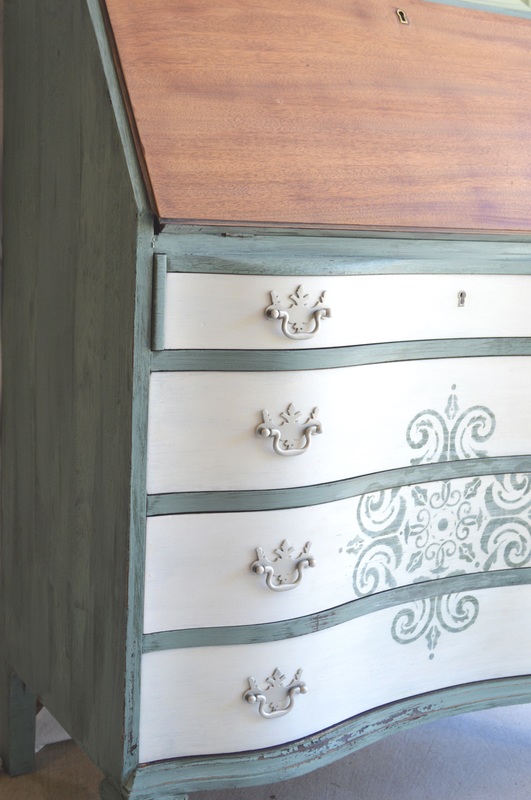
On to my design. Rather my debate and deliberation of my design. I posed the stencil and the harlequins on the drawer face for a trial and was not liking the diamonds with the handles. It was too rowy. Everything was lined across in a row and envisioning it down all the drawers was a no go this time around. I considered putting a couple on either side of the stencil, but again too busy. The stencil would fly solo.
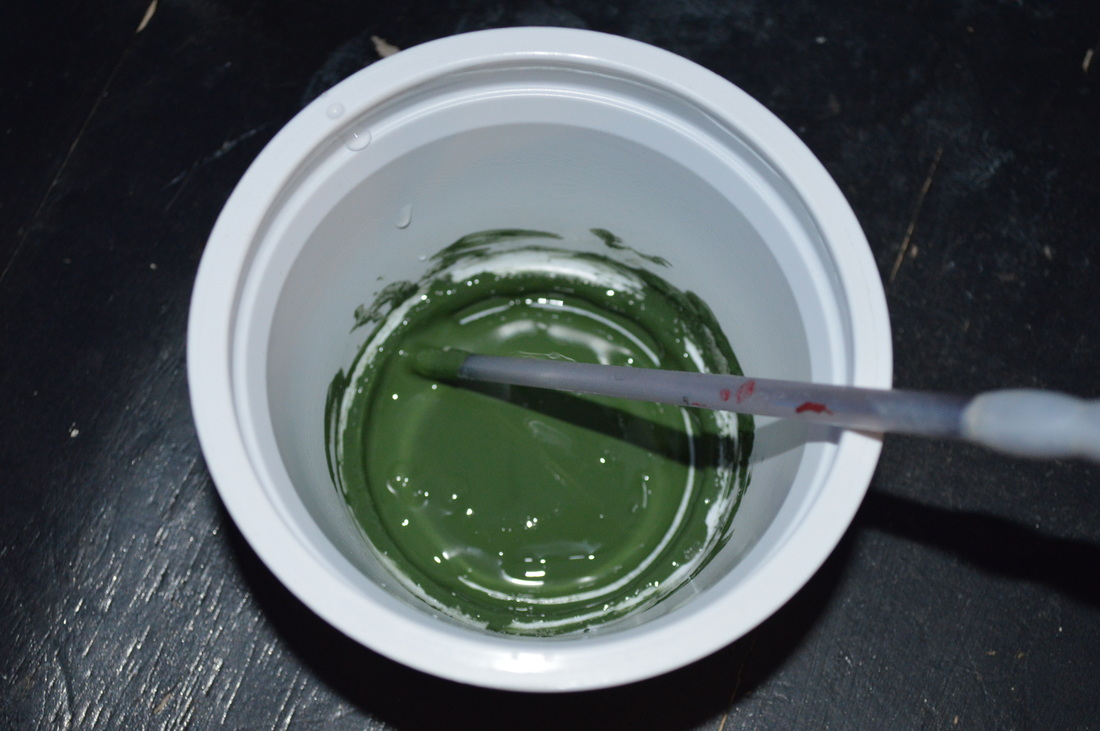
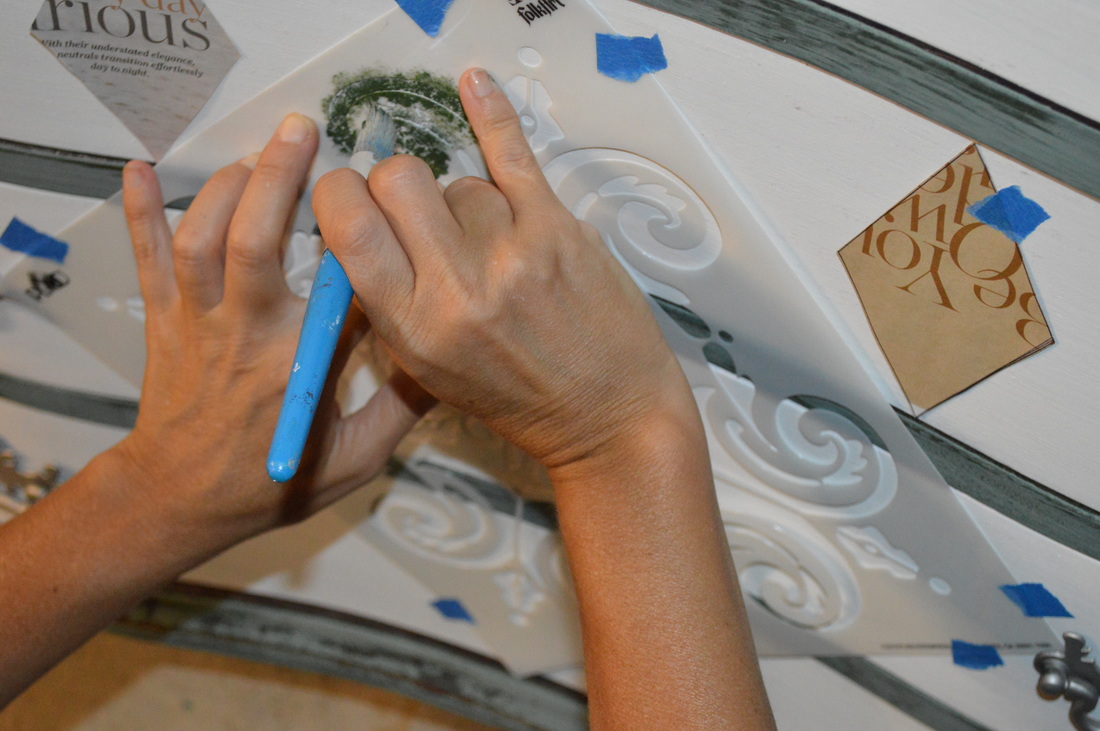
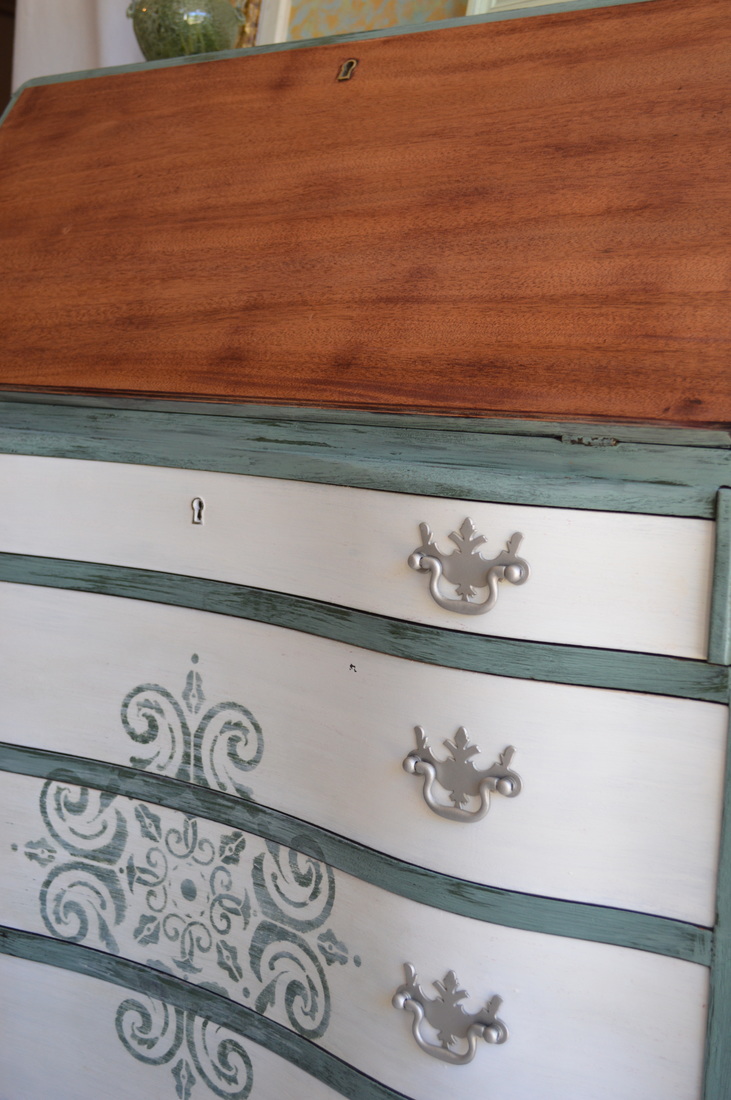
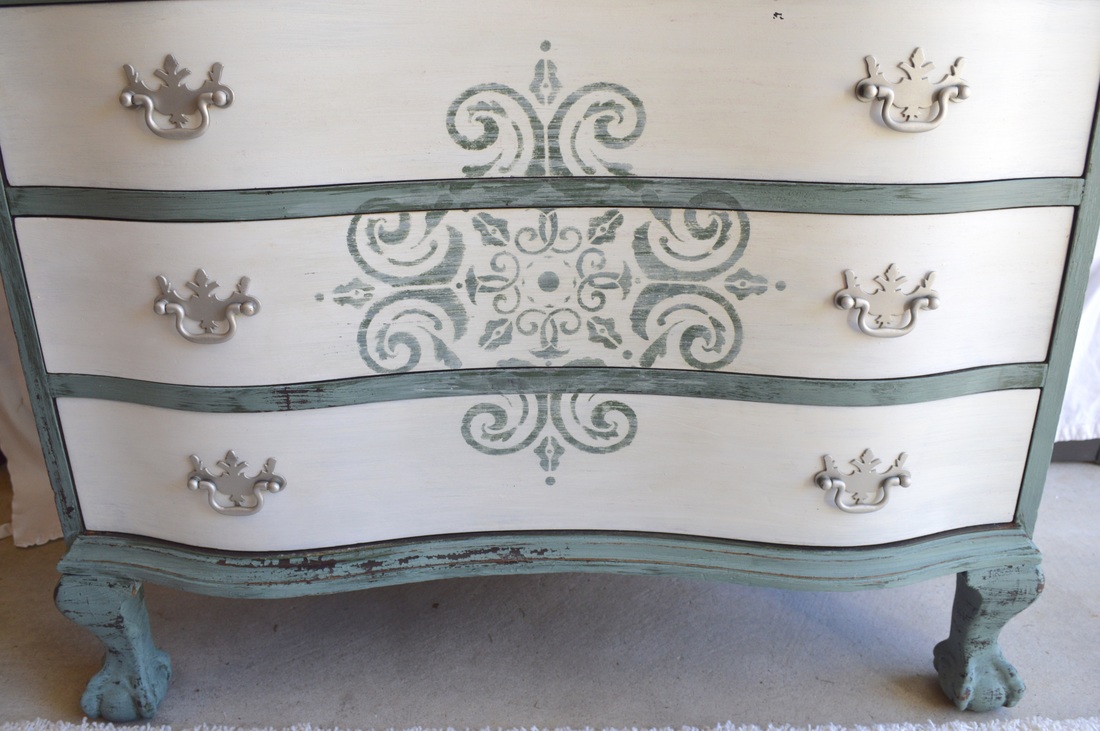
The paste I stenciled with was only using Lexington Green. I wanted to draw out the darker base. I made it goopy so it wouldn't drip down under the stencil which was a bit intricate and it stuck as I pounced pulling it up, so this was a touch of a task, but not too bad and definitely worth it. Once that dried, I applied a small amount of dark wax to the stenciled area, lightly sanded it to distress it and then brushed a snow white wash over it to tuck it into the background paint.
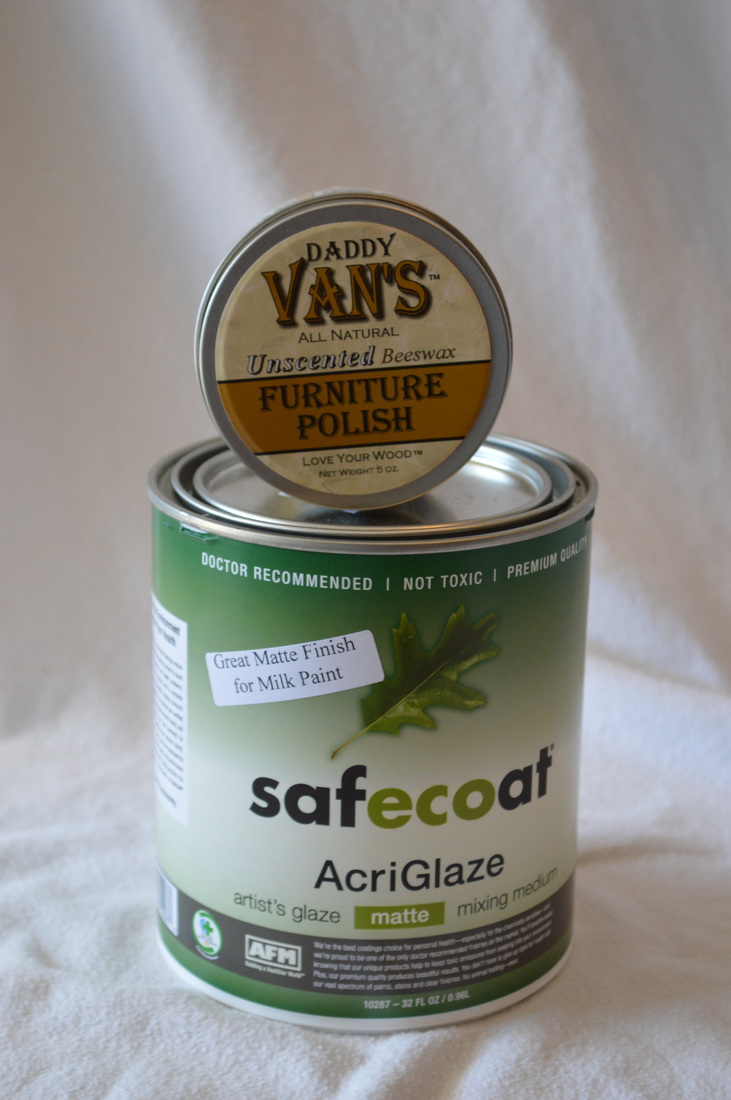
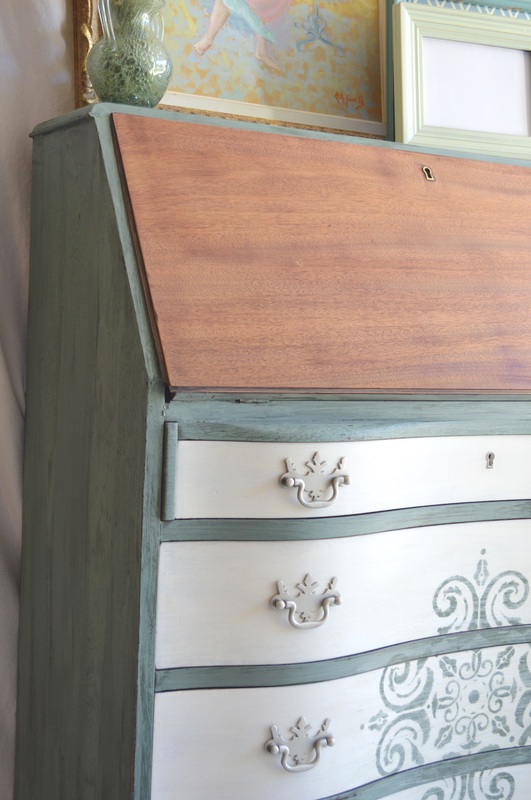
The milk paint chipped wonderfully, and I love how it adds character and life with the texture and tone variations with the layers and crackling. I sealed the natural mahogany with a couple coats of OFMP's SafeCoat and the painted body with Daddy Van's wax. These two gave a beautiful matte lustre protective finish to the piece.
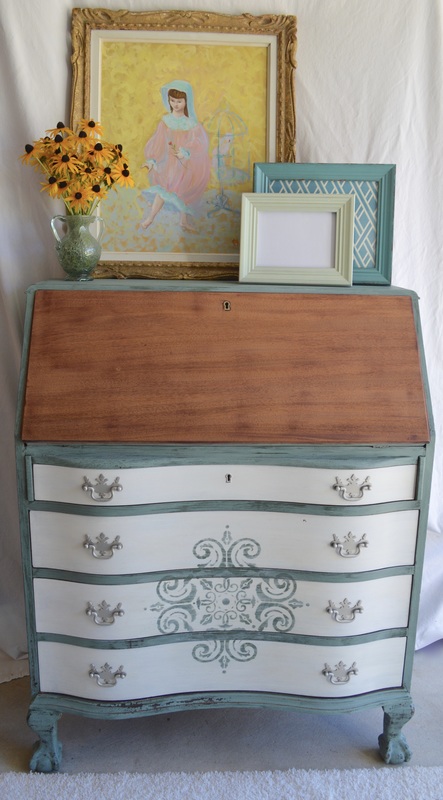
After all was designed and done, here is the Governor's desk. Well, maybe his wife's.


#oldfashionedmilkpaintco #DIYGreen #OFMP #truemilkpaint#OFMPbrandblogger #OFMPbloggerAs an OFMP Brand Blogger, this is a sponsored post by OFMP who supplied me with product to complete the project. All opinions are sincere and my own. Post may provide affiliate links for your convenience which I do not receive compensation if you click them.
 RSS Feed
