Visit me here as well
Lilac Shack Furniture
  • Home
  • About
    • Me >
      • Get To Know Me
    • Lilac Shack's story
    • Loving Care
  • Workshop
    • Furniture and Decor
    • Paint Cupboard
  • Blog
  • Project Portfolio Furniture and Decor
  • Contact
  • Featured/Media

Rethought and refinished vintique loveables.  Emphasis on, but not limited to, antique and vintage furnishings and decor to grace your home.

Scrumptiously Shabby Chic with Old Fashioned Milk Paint

7/27/2016

2 Comments

 
I am delighted and honored to bring this post to you as my first in a series as an official brand blogger for Old Fashioned Milk Paint.  My grin stretches sea to shining sea.  This paint has my heart all bundled up in its paper bags of green, natural, powdery perfection.  OFMP sponsored this project by providing me with the product to complete it.
Picture
I would like to share the process of creating a beautiful shabby chic dresser using OFMP's milk​ paint and a touch of adornments.  But first, let me offer a bit of history which you may also review here, http://www.milkpaint.com/about_hist..., and description of this brand of milk paint.  They are the original company to bring the modern day powder formula to market as genuine milk paint.  It is a true milk paint, all natural, green and non-toxic.  OFMP has a lovely palette of their standard colors to choose from, and then by mixing and playing with combinations, one can create a host of shades and tones.  Speaking of shades and tones, because of the natural pigmentation in milk paint, it covers with beautiful shading and has a very authentic ambiance to its finish. 
Also, being true milk paint, it must be mixed with water in equal parts of paint to water ratios.  It has exquisite characteristics as it coats and dries.  It can stick fully to porous surfaces, or chip and crackle on non-porous surfaces.  In order to ensure adhesion to non-porous or shiny surfaces, they have a great product called extra bond which gets blended into the premixed paint for the first coat.

Milk paint is self-leveling so it sets smoothly on your surface.  I am telling you, this paint is the way to go.  It is mesmerizing to watch as it dries and graces your piece with a unique finish unlike any other paint.

​It does need to be topcoated as it is extremely matte.  If you want your piece to gather household and everyday, how shall I say it... grime for patina...then you can opt to leave it to collect memories of life around it.

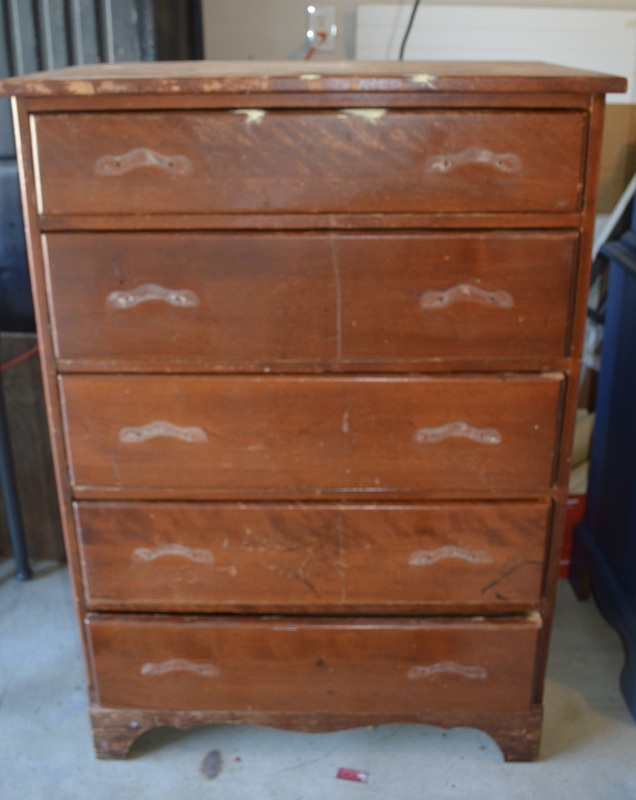
I chose to refinish a very old and excellent quality tall chest made by Union decades ago.  Here begins this piece's journey from marred and abandoned in its homeliness to all dressed up and waiting for somewhere to go in its new country chic finish.

​Here it sits bare and beat:
Picture
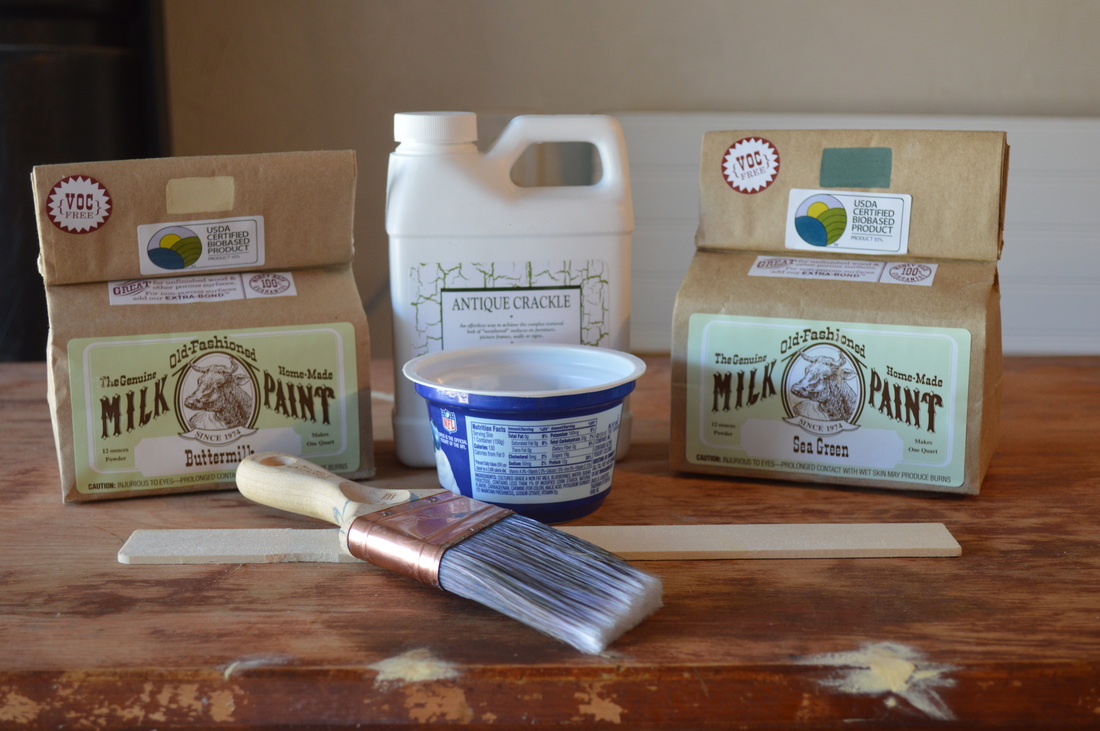
And here comes my paint hero, OFMP in Sea Green and Buttermilk to rescue it from all that dull brown:
Picture
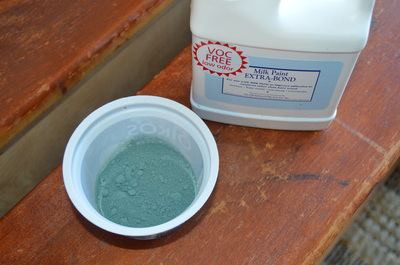
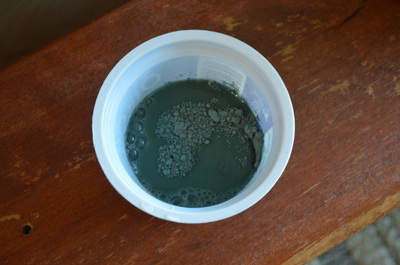
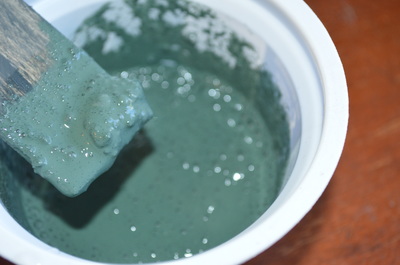
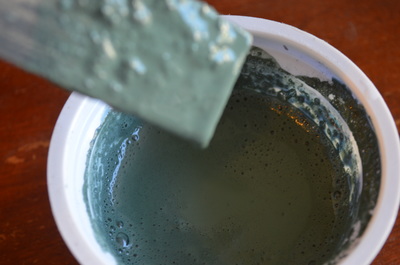
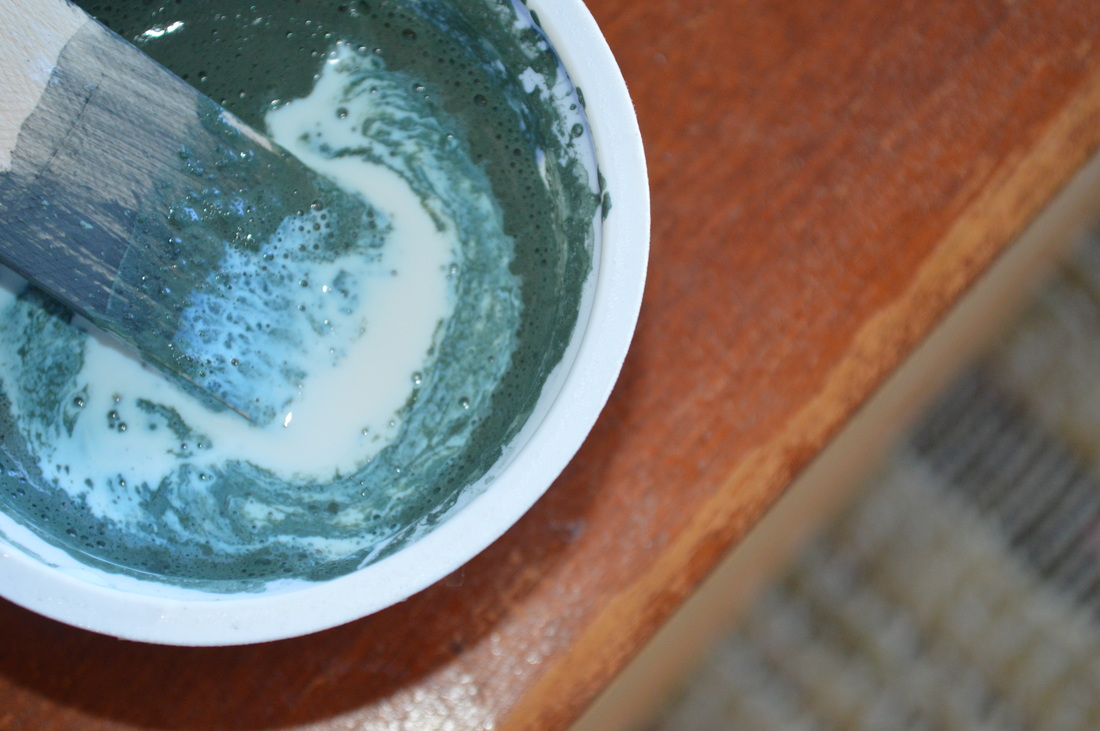
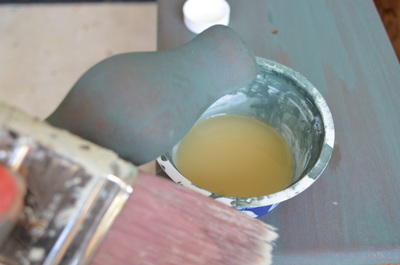
​As I stated above, the powder must be mixed with equal portions of water and then stirred very well to diminish any lumps and release the full pigment.  It will end up smooth and maybe some little bubbles from stirring as you see here.  I press the lumps against the side of my container to break them down and mix in well.  I am using a yogurt cup which I make several small batches of paint as I go, and then I can rinse and recycle when I am done.  Keeping all things green here.
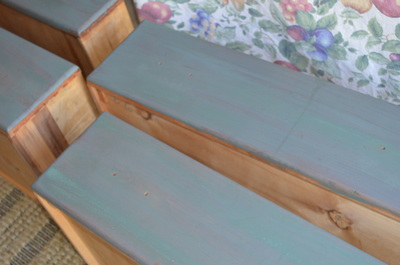
Because my surface was a bit shiny after a light sanding and wash, I added the extra bond for improved adhesion of the paint to the wood.  I was not looking for chipping at this point.  This is a breeze to add.  Just follow instructions on the bottle.
Picture
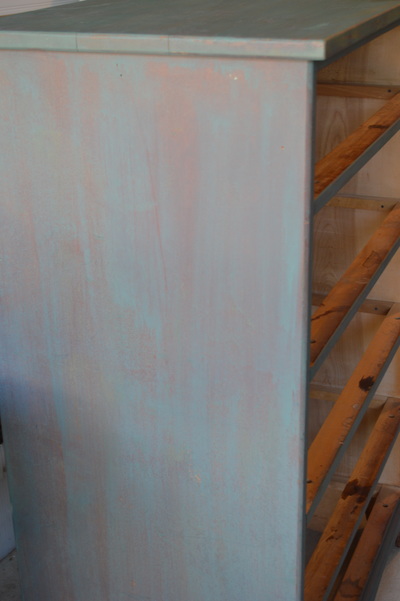
Paint time.  Here is the dresser after my first coat of the Sea Green.  I was doing two coats of this because I wanted it to show through the Buttermilk after the crackling process.
​Do not be daunted or deterred after your first coat which may look disastrous.  There is a little milk paint miracle which occurs with the second coat.  My heart dropped to my ankles when I first used milk paint.  I had never seen it nor used it on anything and was devastated when I applied the first coat and saw streaks and bare spots and a shady texture.  But then.  Then the magic happened when I persevered to paint the second coat.  Heed my words, do not give up.  It will be beautiful.

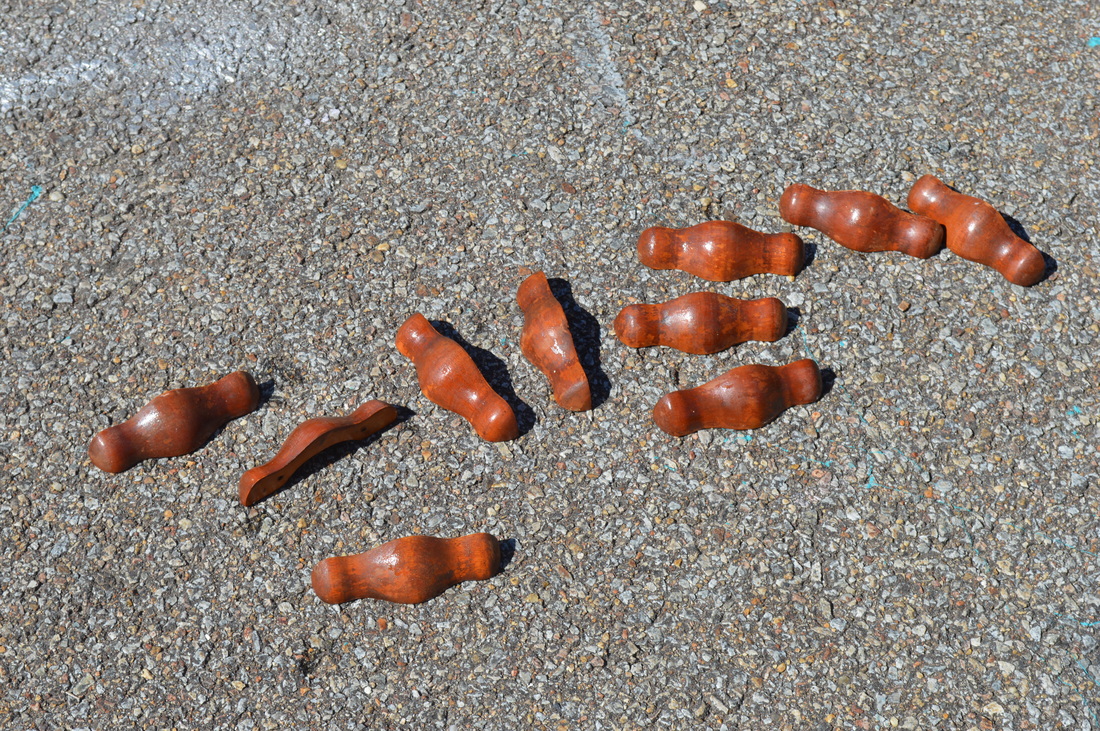
Next I scrubbed and left my handles to sunbathe while they waited their turn to be coated in OFMP's paint and then the antique crackle medium.  
Picture
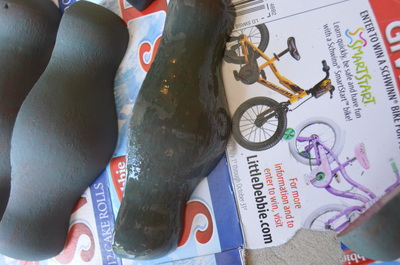
The crackle medium is very thick and sticky.  It is pretty easy to layer on the paint and you can see the sheen so you know where you may have missed coverage which is great for being thorough.
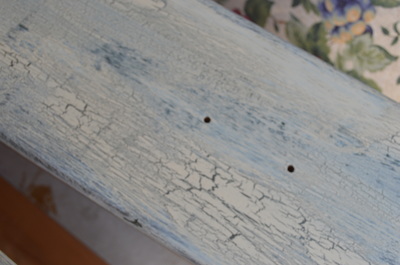
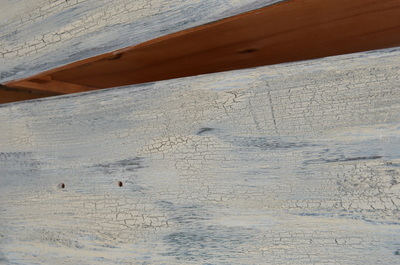
After a two hour drying period, I began to paint the top color of Buttermilk that would activate the crackling.  This was really cool to observe.  The paint begins to dance right before your eyes.  Luscious crackles and breaks travel along a moment after each stroke of paint.  Be sure to follow the directions on how to apply the paint over the medium.  It can be a little tricky at first, but not difficult.
I salivate.  

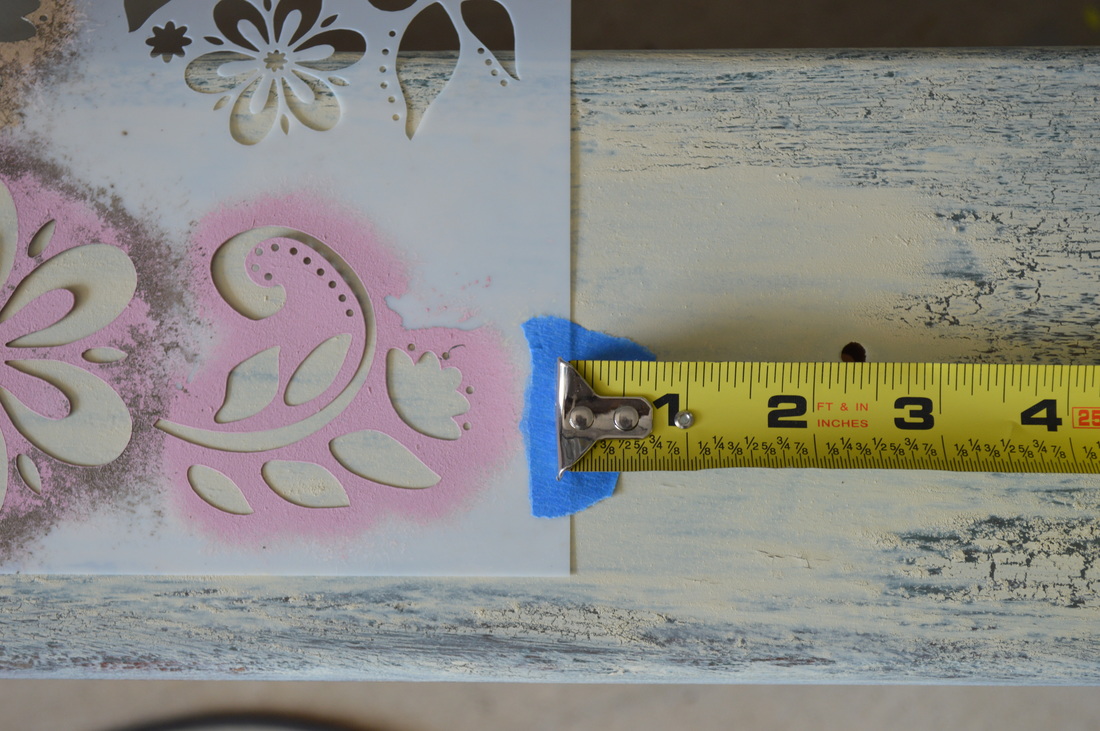
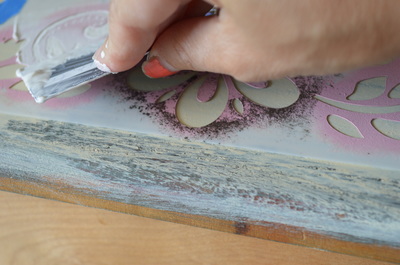
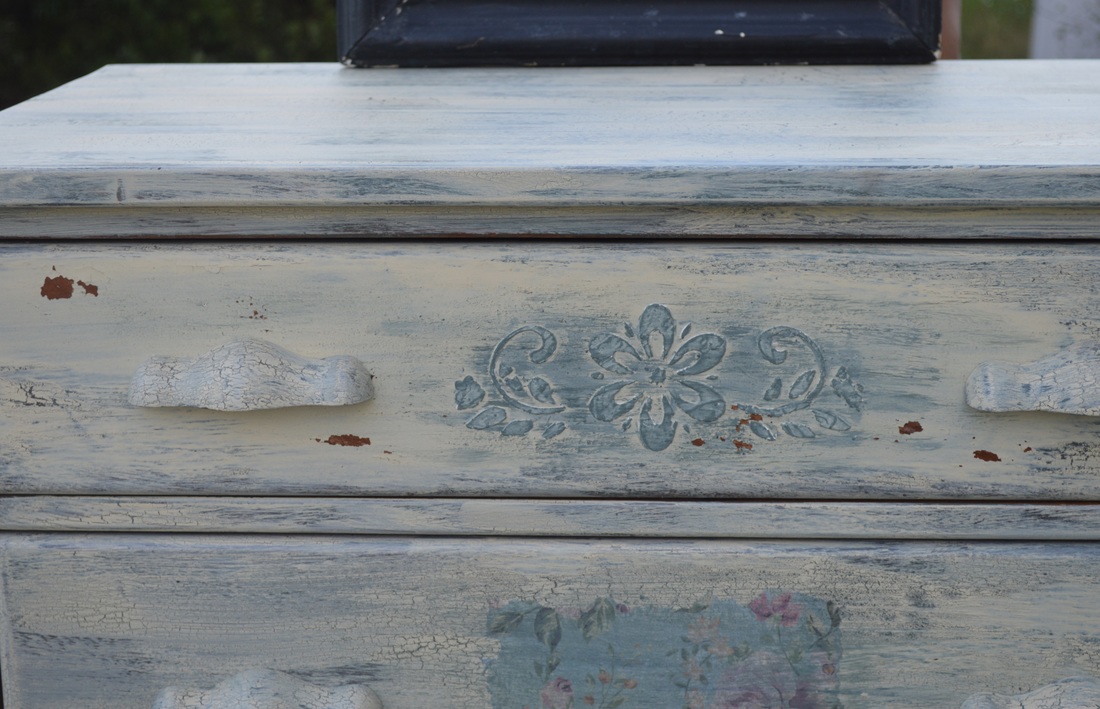
I let this set for a few hours and then I began adding some decorative detailing to the drawers.  For the shallower top drawer, I applied a raised stencil which I would then brush over with the two paints alternating layers to get the tone I wanted.  The first step is to measure your stencil to center it.  I like to use the pull holes as a guide. 
Picture
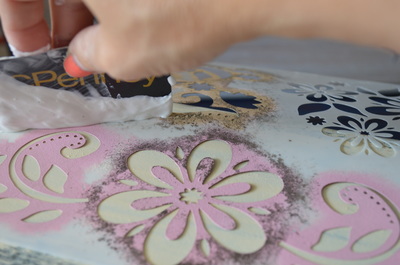
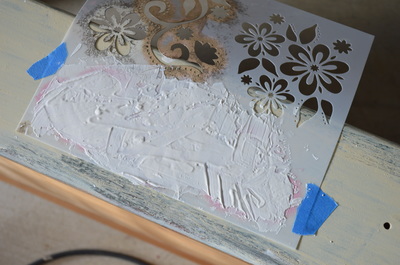
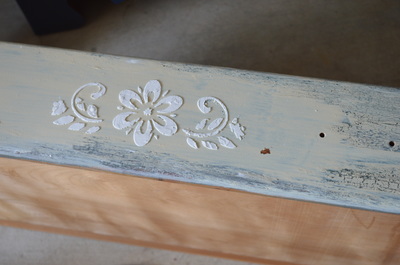
Once you have your stencil in place, tape it down with painter's or frog tape.  I use spackle or joint compound to create my raised stencils.  I use a credit card to smooth it over the entire stencil.  Once fully covered and fairly leveled, let sit for just a minute and then​ slowly lift tape and pull back the stencil.  
Pretty nifty, right?  Now be patient and let this fully dry to hardness.  Then you can paint it and topcoat it.

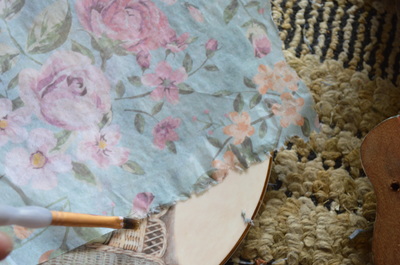
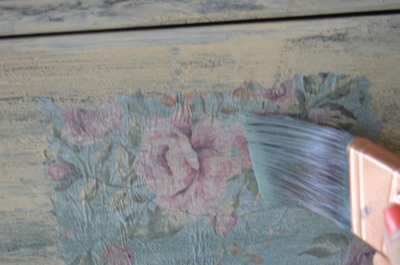
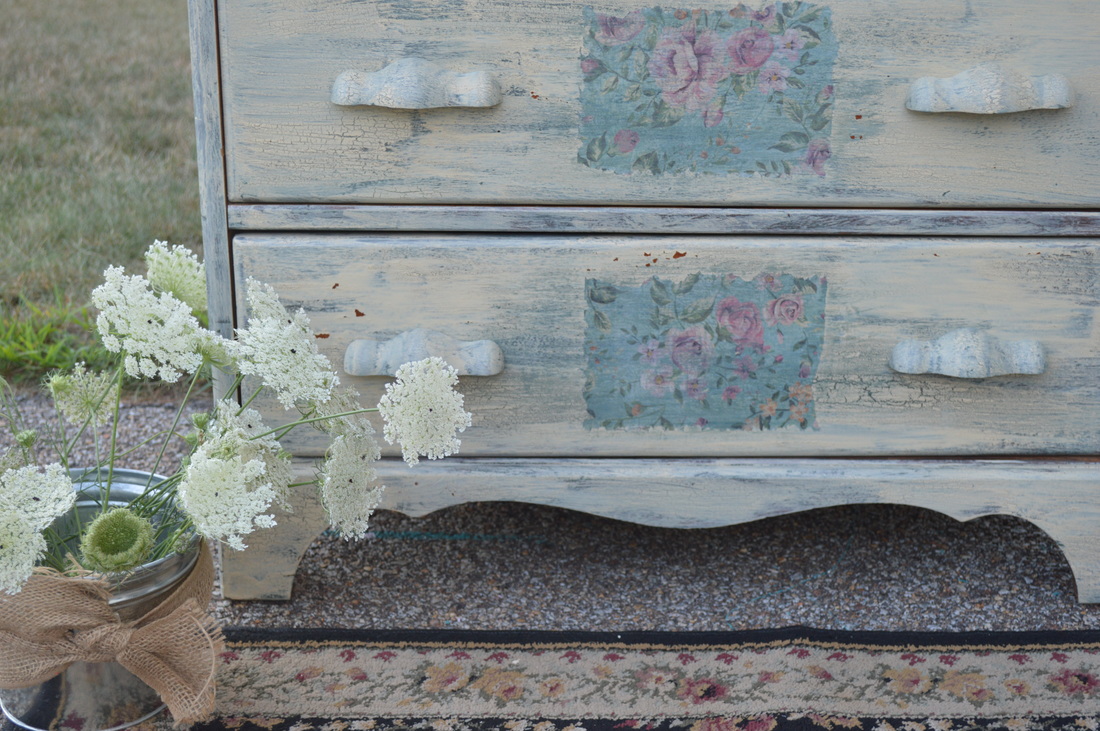
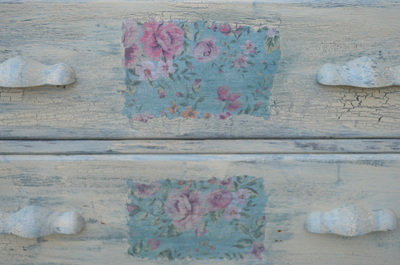
I was also using some tissue paper to decoupage the centers of the rest of the drawers.  To achieve a tattered edge which is more complementary to a shabby chic appeal, I use a small paint brush and dab water along the edges pulling them away.


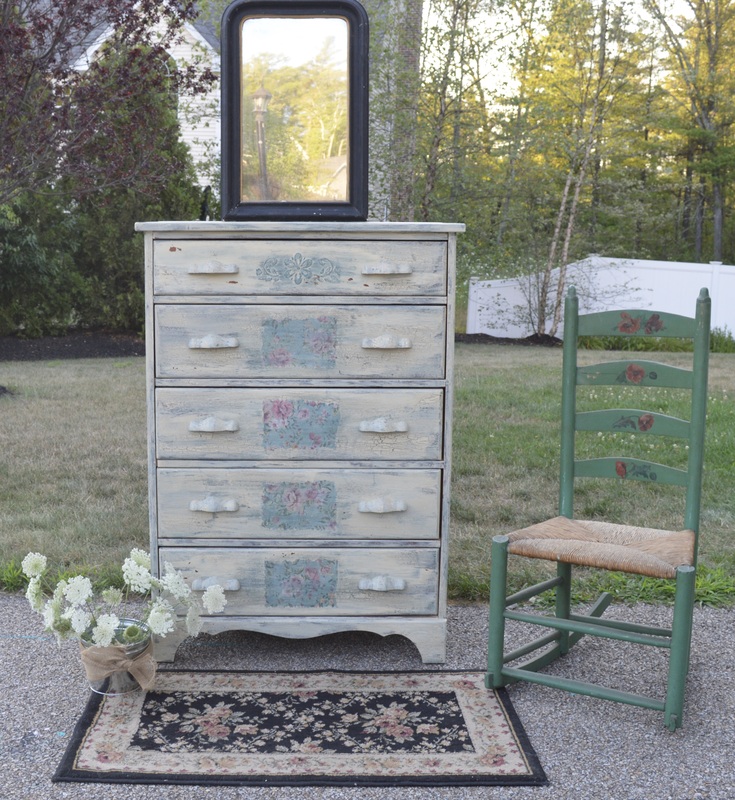
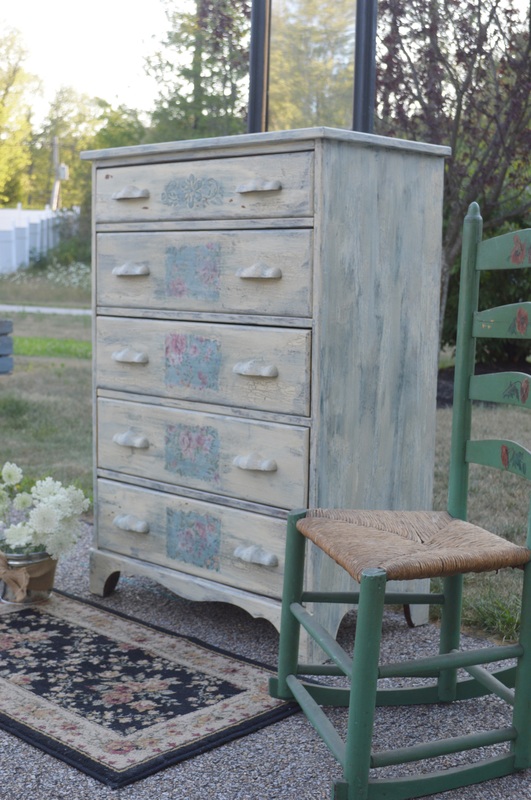
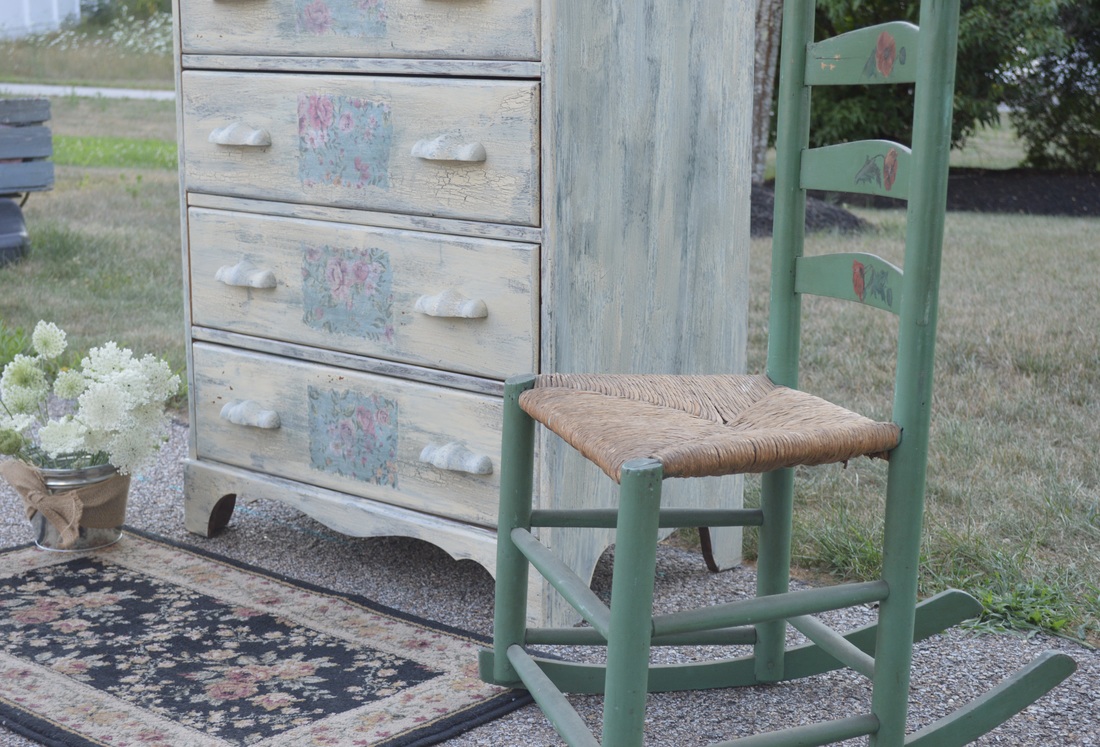
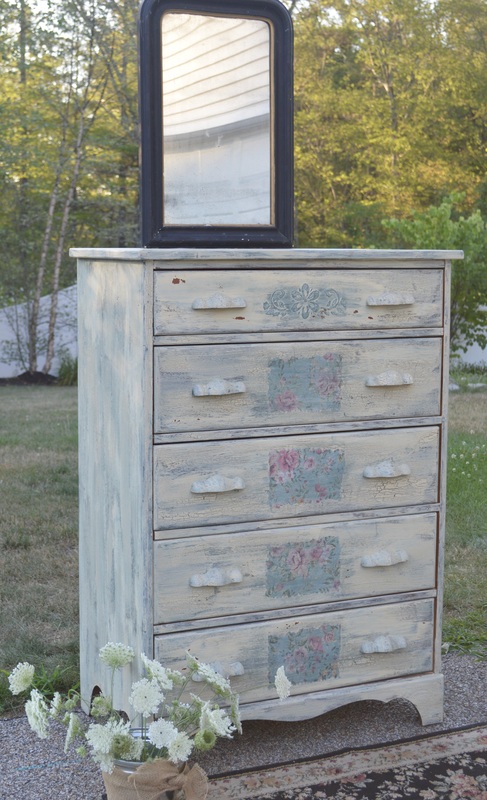
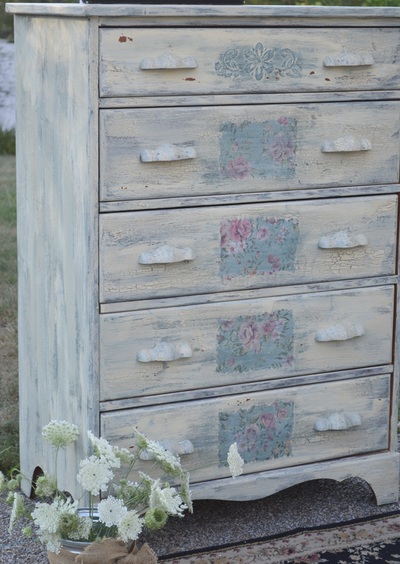
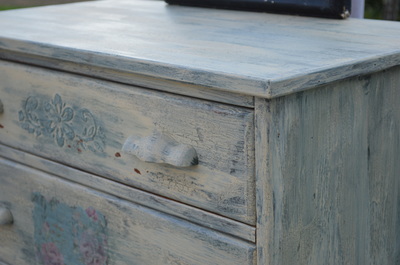
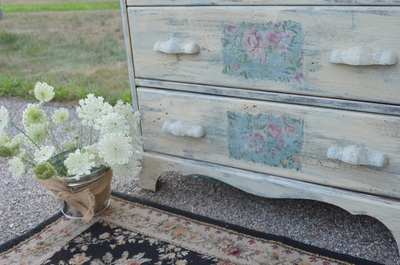
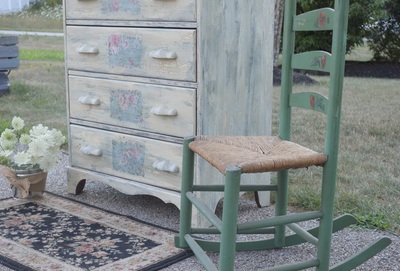
​After all the crafty fun, here is my scrumptiously shabby country chic dresser made perfect with Old Fashioned Milk Paint products.

Picture
Picture
Picture
Picture
Picture
Picture
Crackles, chips, shades and tones...perfection.  

Though OFMP provided product for me to complete this project, all opinions are sincerely my very own.

‪#‎oldfashionedmilkpaintco‬ ‪#‎DIYGreen‬ ‪#‎OFMP‬ ‪#‎truemilkpaint‬‪#‎OFMPbrandblogger‬ ‪#‎OFMPblogger‬
​
2 Comments

Meadow Green Sofa Table

7/22/2015

2 Comments

 
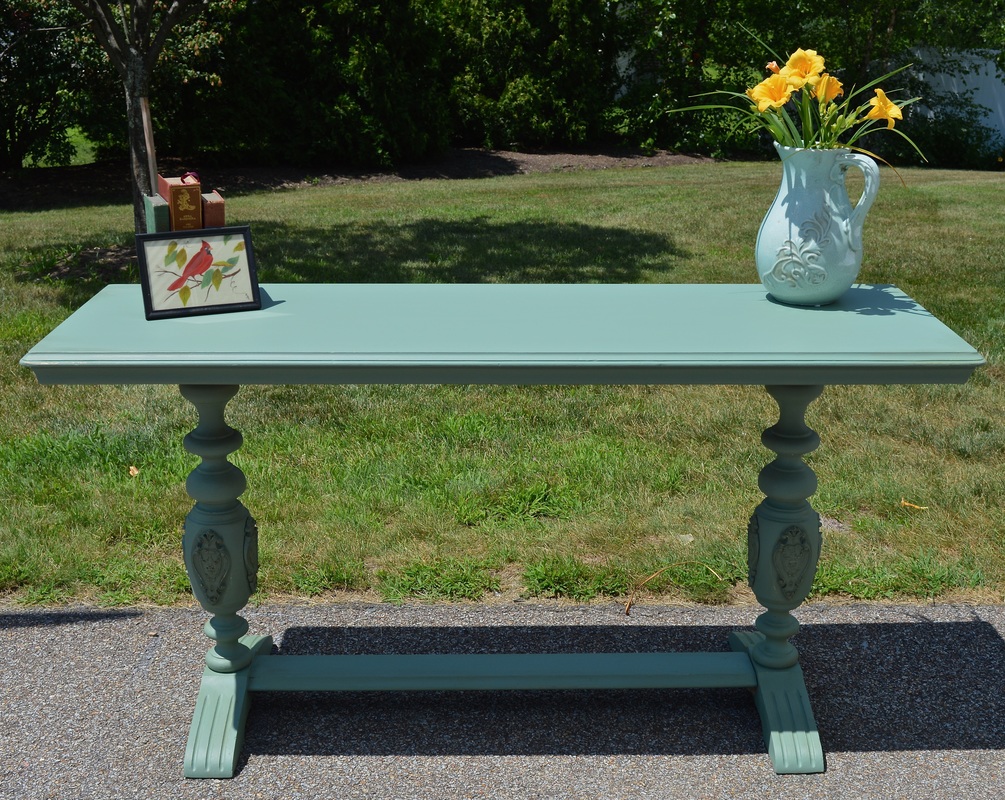
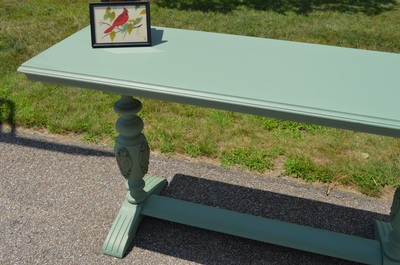
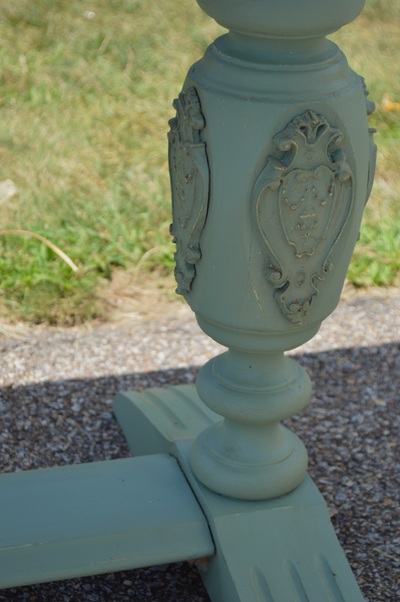
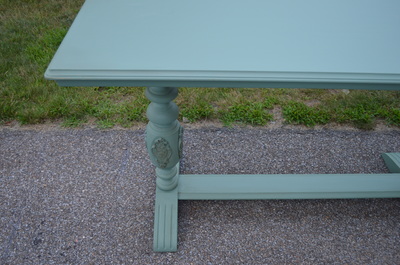
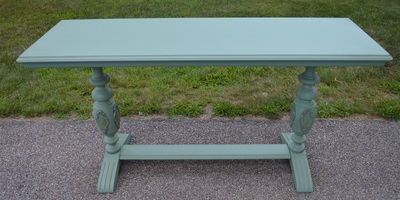
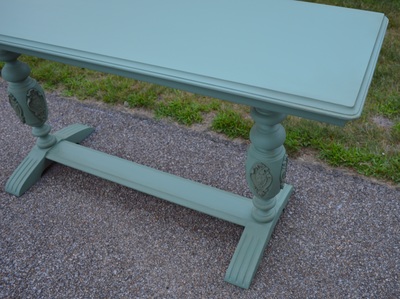
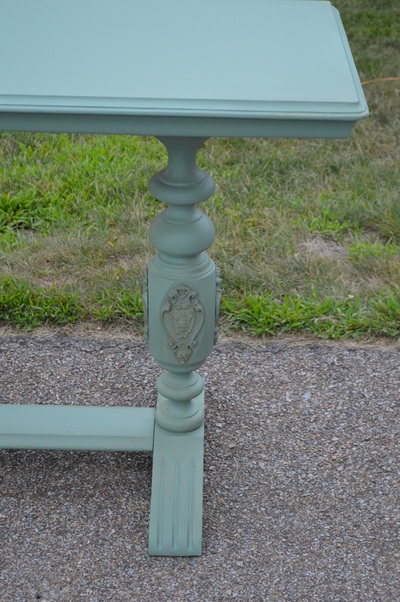
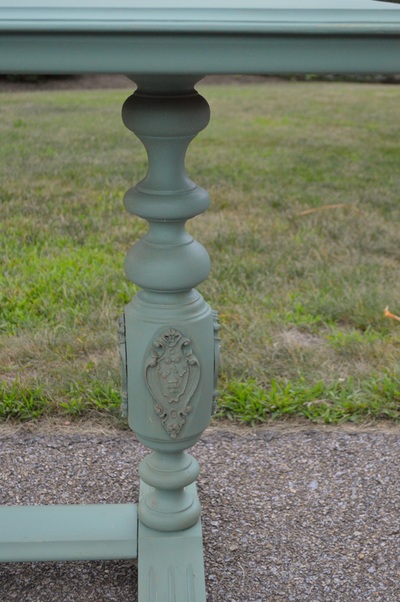
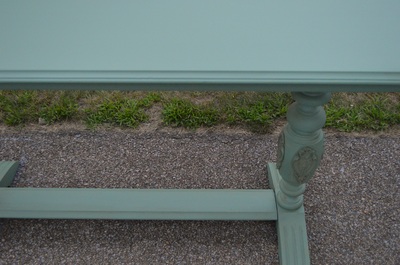
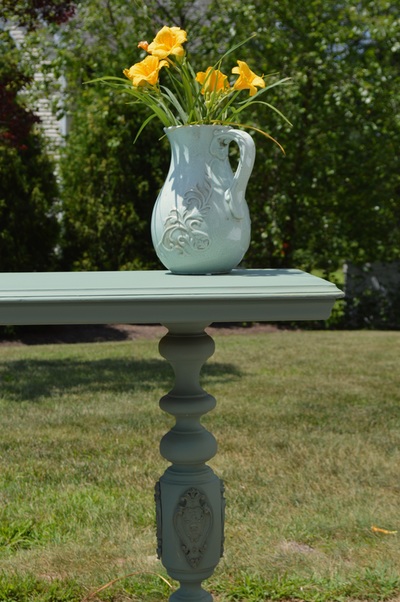
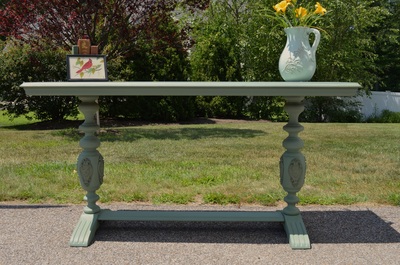
A gorgeous soft green make this already beautiful table even more decor-delectable.  It is a large sofa table, console, buffet or side table.  It could be used behind a sofa, as a divider between open spaces to define areas or with a couple of chairs on either side for a conversation area.  Display photos and collectibles in style.  It is truly a stunning statement piece which could go anywhere from a library or den to a family room to a foyer to a dining room as a buffet to wherever your heart is content.  Painted in a custom combination of green chalk paint, I then clear waxed to seal it.  I added dark wax in selected areas to enhance some features and simply because I love the tone it brings to pieces.  I am a dark wax super fan.

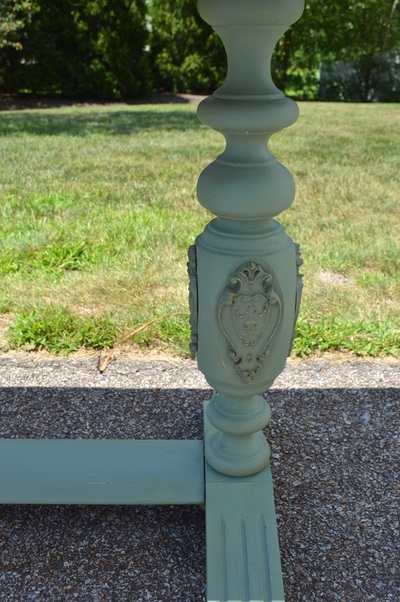
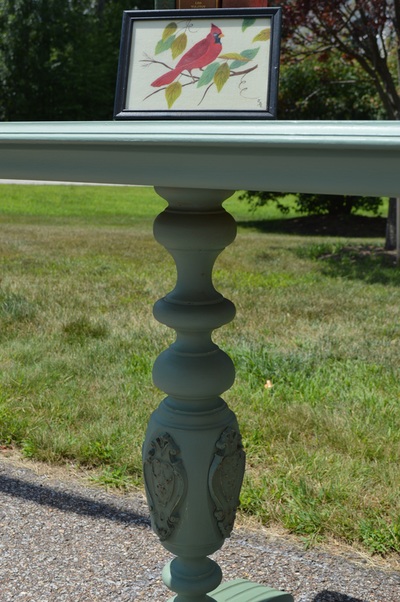
The color was very difficult to get right in the photos.  I took some in different daylight to try to capture the beauty of the green.  The first few were in the bright sunshine and the last few were at dusk.  This warm shade of green has a lovely, muted sage tone while being classy and compatible with many other colors/tones.  Check out those legs.  And the appliqués go all around them.
Picture
2 Comments

Heirloom Hutch

7/14/2015

1 Comment

 
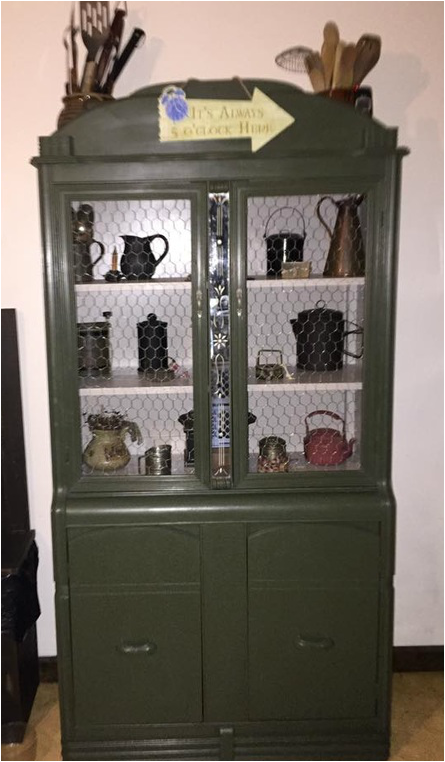
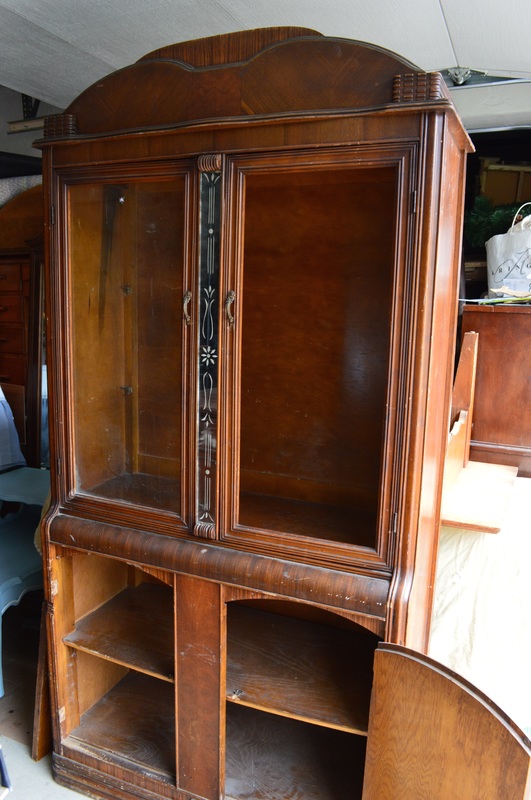
This hutch was a custom order brought to me by a lady who had very strong sentimental ties to it.  It was a piece which had belonged to her grandparents and the only item she would have of theirs.  Her mother had passed many years ago, as well as her grandparents so this piece was her only remaining link to them.  It had seen some very rough days during prior ownership, and was in need of several things to bring out its former glory.  On the verge of being dumped as garbage, she saved it from unwarranted demise.  I was honored an excited to be a part of helping bring this piece back to beauty for this client.  I can be a tad sentimental myself, so I loved the story of this and was happy to assist in its recovery.

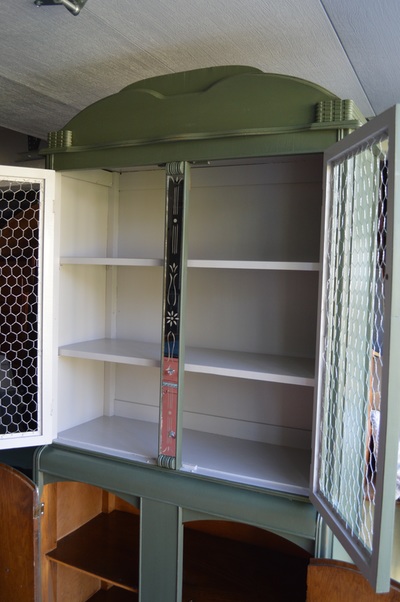
The shelves were missing, the door hinges needed replacing/new screws, one lower door needed reattaching, the glass on a top door was broken out, there were large and small sections of veneer repair and the bottom inner shelves needed to be nailed back in place.  An emblem had been painted on one side.  The handles on the bottom were missing part of the bakelite pieces, and given the owner wanted to keep them, the missing sections needed to be filled.  The poor thing had booboos everywhere, smack, knicks, dings and dents.  I sanded, wood filled, glued and smoothed the essentials then played up the rest as part of its history by distressing the entire piece keeping its story authentic.

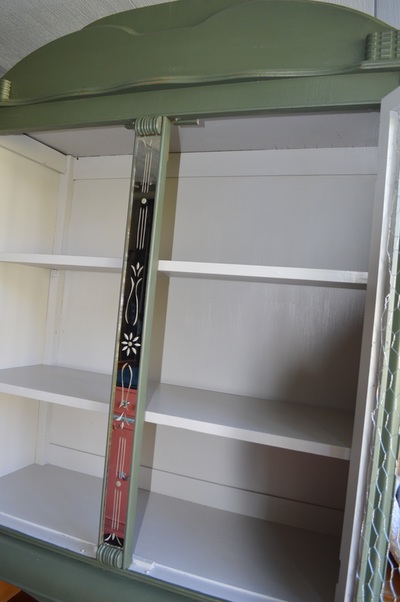
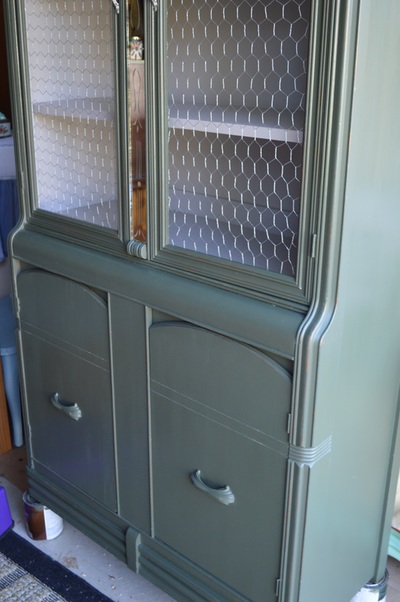
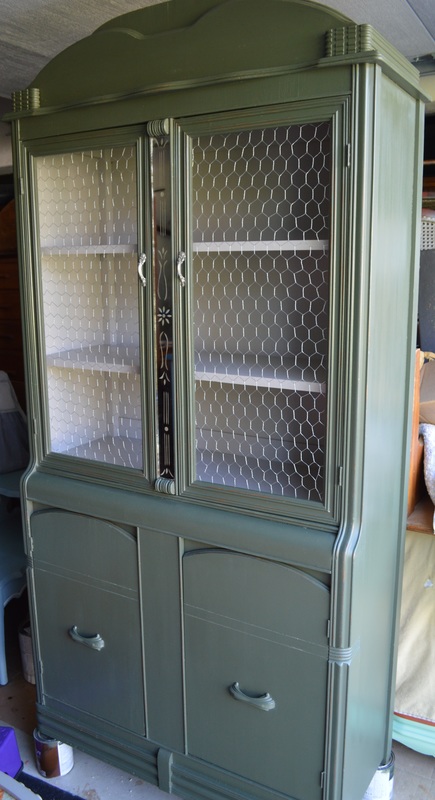
Structurally, it was still sound.  It was a unique looking antique cabinet with a mirror striping the front which had a floral design showing through.

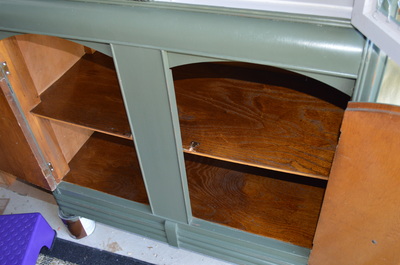
The client chose a deep rich green chalk paint for the outside with a soft gray shall paint for the upper inside. For the lower cabinet, I re-stained the shelving.  I replaced the glass in the doors with chicken wire and installed new shelveson the top.  I light coated the upper hardware with satin nickel which blended the tarnished handles beautifully with the chicken wire and gray interior.  The bottom door pulls I filled in and the client wanted those to be the same color as the piece itself so they were painted in the green.
Four coats of interior paint and four coats of polycrylic slathered the top interior for storage durability.  A spray of shellac went on first to prevent that pesky yellowish brown bleed through which tends to happen with the old Art Deco finishes.  Clear wax and light distressing finished it off.

I couldn't get a full on front view because I was nervous to shift it due to the original mirror glass.  It had miraculously survived through the years so no way was I going to risk it smashing on my watch.  In fact, I kept it wrapped in foam the entire time it wa with me.

This heirloom hutch was not at all trash, but a true beloved treasure.  It is ready for generations to come for this family.

From bugly brown to gorgeous green and gray - Here it is all perty and waiting to go home:


Picture
Here it is cozy and beautifully displaying its owners treasures in its home:

Picture

And here it was before its lovely transformation:

Picture


Linked at:

http://missmustardseed.com/…/furniture-feature-friday-favo…/
Wow Us Wednesdays #232
1 Comment

Mid Century Glam Gray and Coral Dresser

5/22/2015

2 Comments

 
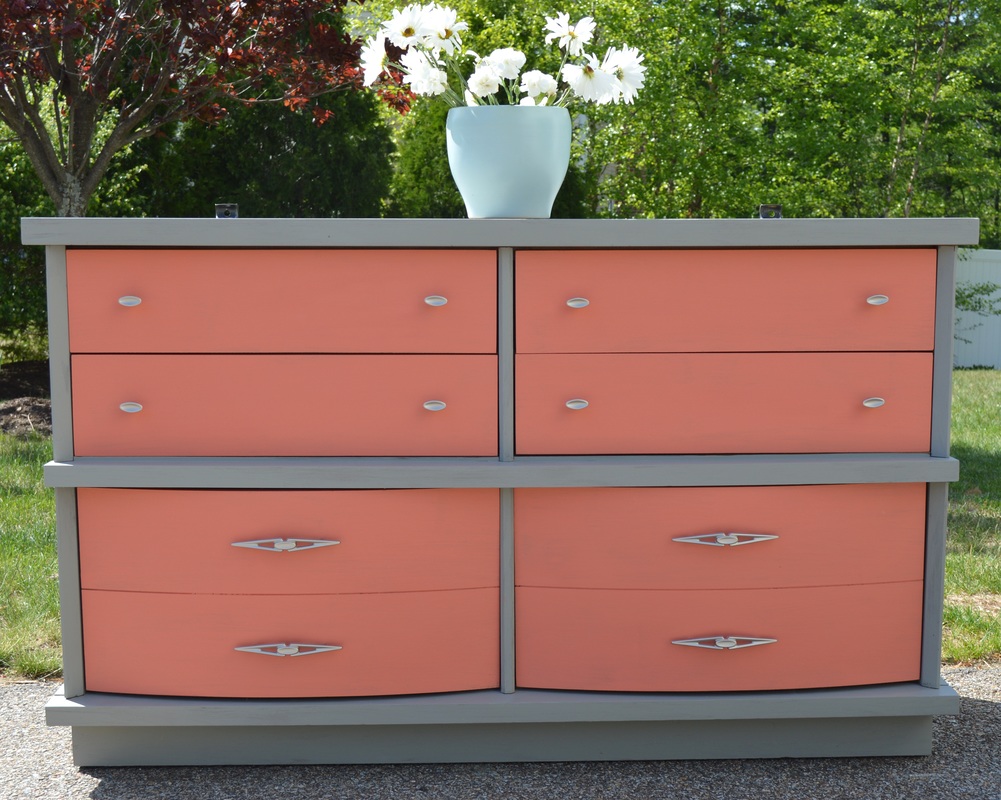
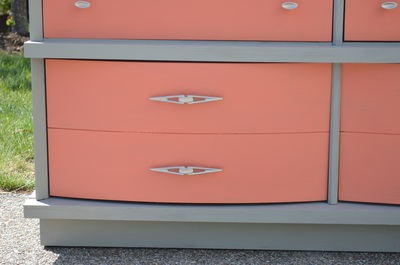
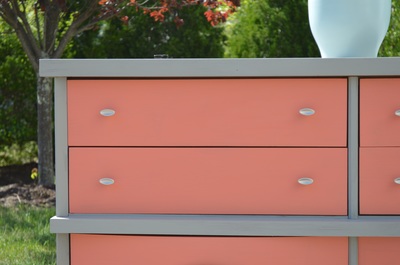
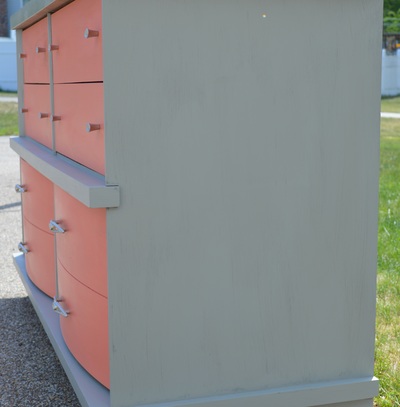
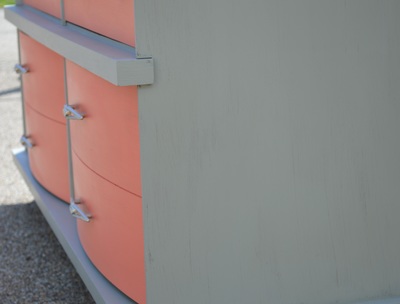
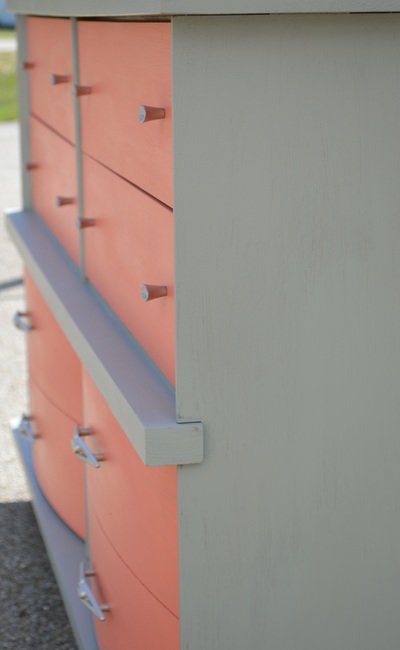
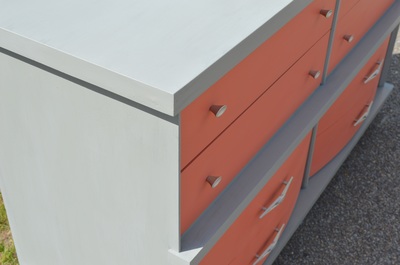
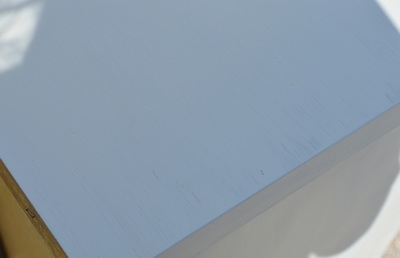
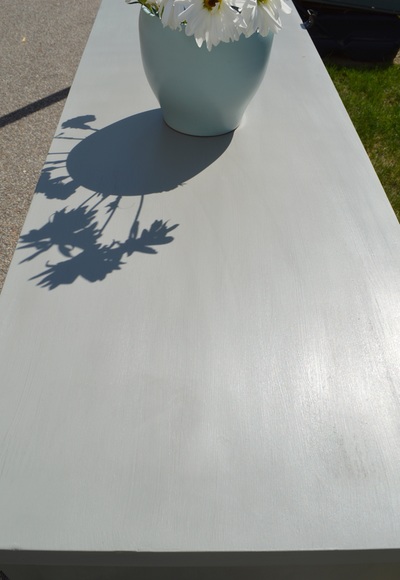
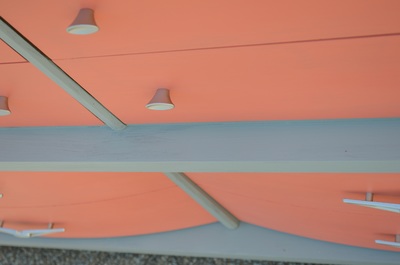
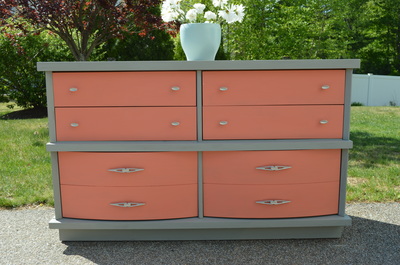
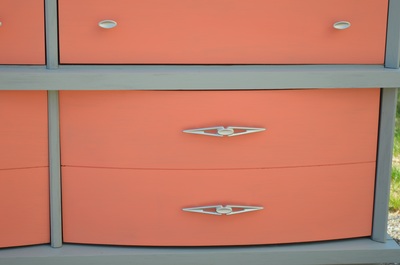
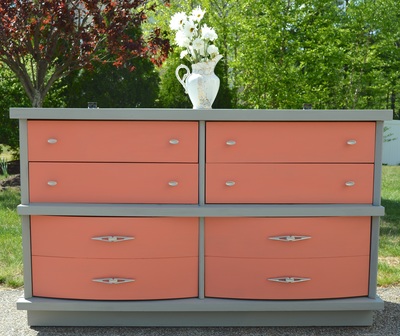
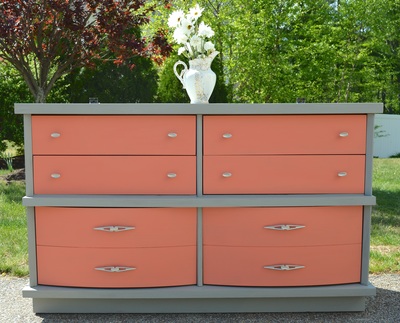
Great mid century quality, sleek styling, excellent craftsmanship and, of course, a pretty new look make this dresser a statement piece for any room any use.  I refinished this in a fawn colored chalk paint for the frame and the drawers are lei flower coral.  I find this color combination cozy and soft, yet striking and lovely.  The original hardware is amazing.  I considered replacing it, but thought it may detract from the era during which it was crafted.  Then I painted the hardware gold, because I love gold and coral.  But....I then changed my mind when I installed it.  
The fawn color, a tawny gray, was shadowed by the gold.  I believe in mixing metals, but the tones competed on this rather than complemented one another.  It is pictured with two different vases just to show how styles and metals can combine beautifully.  One vase is an antique white pitcher with gold design.  The other I chose because it is more streamlined and I think the color palette is dreamy. The fawn is done in a weathered finish.
Though modernized by the refinishing, the feel and period of the piece is maintained and appreciated. There are six drawers total.  Four good sized ones on the top portion while the bottom two are huge deep storage spaces.
As much as I adore Victorian antiques and vintage, I am drawn to mid-century work.  Something about the cool lines and simplistic designing which still lends loads of character sucks me right in to its beauty.  
Picture


Linked at:
furniture feature friday | favorites & link party
Think and Make Thursday Link Party- No. 34
2 Comments
<<Previous

    Author

    Hi, I am Kara, site owner and author.

    Archives

    September 2017
    July 2017
    June 2017
    May 2017
    March 2017
    November 2016
    October 2016
    September 2016
    August 2016
    July 2016
    June 2016
    May 2016
    April 2016
    March 2016
    January 2016
    November 2015
    October 2015
    September 2015
    August 2015
    July 2015
    June 2015
    May 2015
    April 2015
    March 2015
    January 2015
    December 2014
    November 2014
    October 2014
    September 2014

    RSS Feed

    Categories

    All
    Antique
    Antique Roll Top Desk
    Available
    Before And After
    Chalkboard
    Chalk Paint
    Chicken Wire
    Chippy
    Clear Wax
    Dark Wax
    Decor
    Decoupage
    Distressed
    Drawers
    Fortunato Court
    How To Purchase
    Maintenance
    Mid Century
    Milk Paint
    Rustic
    Shabby Chic
    Stenciled
    Transformations
    Vintage
    White Wax
    Workshoppe Teaser

Powered by Create your own unique website with customizable templates.